Installing Heavy Duty Battery Cables In Your 6.5
Your truck won't start. Usually this is caused by several things happening (or not happening) at the same time. And usually this is caused by poor maintenance, which is a good thing because it's easily remedied... just do the maintenance!
Potential problems on a no-start condition...
- Battery cables
- Batteries
- Starter
- Glow plugs
- Injectors
Are all things that need to be in good order for your rig to start.
Here's a look at how your rig should start on a cold morning (or any morning)...
Big Cables And Good Batteries = Quick Start On A Cold Morning!
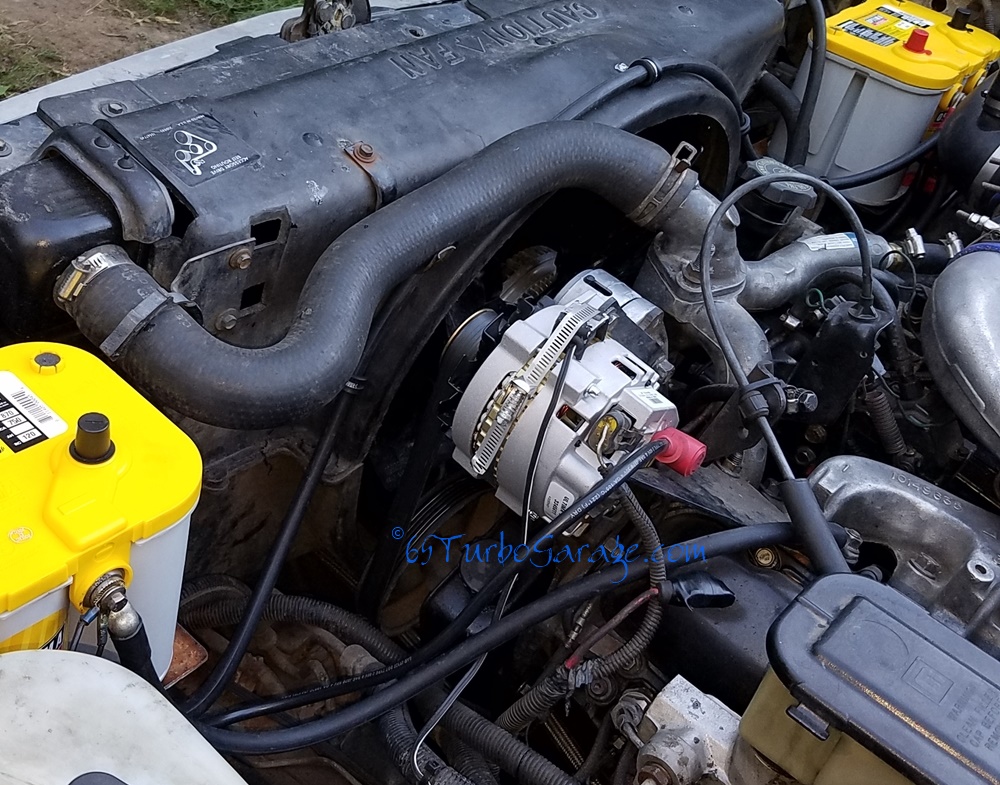
Here we will be looking at and changing the battery cables on a 1993 6.5 to PT Wiring Solutions very heavy duty 2/0 cables. The directions show how to install on a later model with the alternator on the other side, which worried me a little at first, but it all went ok. The difference being that the alternator cable with the lug with the big red cap on it goes on the driver's side and the starter cable with the 90* bent lug has the long cable to the firewall lug on the passenger side.
- FYI -
Unfortunately, Bruce is no longer offering these sets for sale. I hope to have a similar set available in late 2022 or early 2023.
Bruce and Sandi Kirkendall at PT Wiring Solutions make several high quality products for our 6.5's, like a glow plug harness and the battery cables shown here that will eliminate them as a problem area, likely for the rest of the time you own your rig.
Bruce has changed his website in recent years and I have to say, it's terrible. I love the idea, but it's pretty weird looking at first so don't let that deter you, just scroll down to see his stuff (sorry Bruce). More importantly, I don't see any battery cables or glow plug harness' offered anymore. I'll try to get more info and report back here.
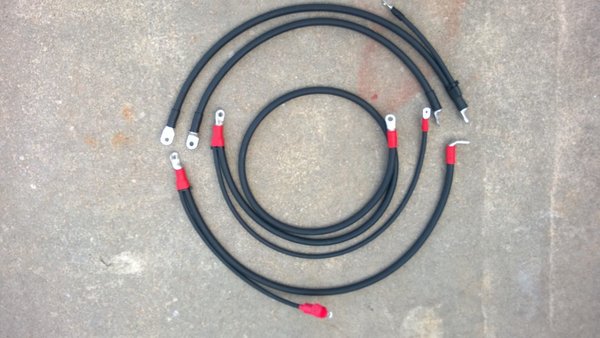 PT Wiring Solutions Battery Cable Kit
First of all, I will say this... a visual inspection is not good enough to know if your cables are good or not. Corrosion can grow underneath the insulation and you'll never see it unless you cut them open. Likely, if your rig has many miles on it, and especially if you live in an area where things tend to corrode quickly (do you see a lot of rusty vehicles on the road?), your cables are corroded.
Big Cables For Big Power!
Regardless of corrosion, the factory cables are pretty anemic to begin with, so even if your cables aren't totally corroded, upgrading to bigger cables will allow the batteries to get their power to the starter so it can do it's job as well as it can, and that's the exact issue here. You need about 200 RPM's (225 is preferred) for your 6.5 to start well, but it's not going to happen if power can't get to the starter. And these cables are BIG! 2/0 is a huge jump up from the stock size cables, so not only are you getting rid of the corrosion, you are providing a more efficient cable for less voltage drop for more power to the starter. Every cable in this set is bigger, from the grounds to the alternator.
There's one more thing to mention here... it's an easy project! There is one place where it can be a pain when attaching to the starter, but overall, it's an easy afternoon project, so let's do it!
|
Tools: |
|
Material: |
Parts:
Let's Get Started!
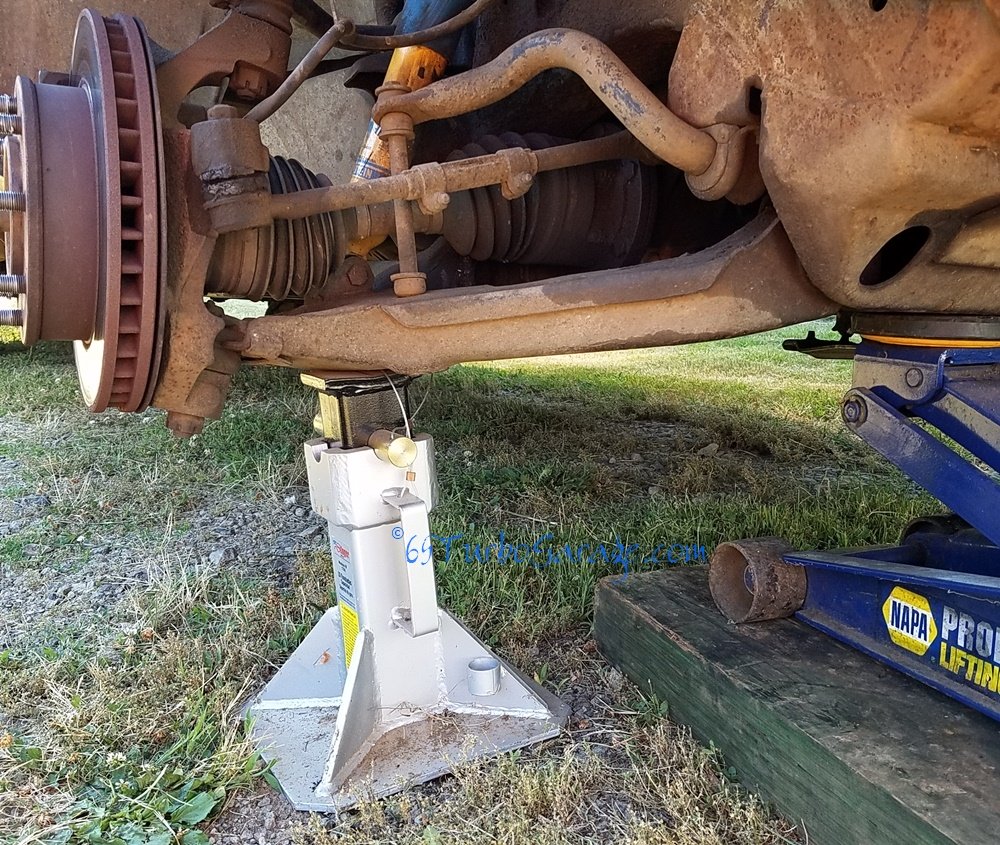
The first thing to do is jack up the passenger side, secure with a jack stand (I really prefer these) and remove the wheel. This will give you easy access to the routing and starter attachment point.
Laying Out PT Wiring Solutions Heavy Duty Battery Cables In Preparation For Install
Then, starting with the negatives (-) on the batteries, remove all the old cables from the batteries, starter, and alternator. Making note (or better, taking pictures) of how they are routed.
Moving to the passenger side positive (+), follow the cable down from the battery and you'll see that it goes through two adel clamps with a bunch of other cables. Using a socket, remove the bolts holding them to the frames, pry open the clamps, and get the battery cables out.
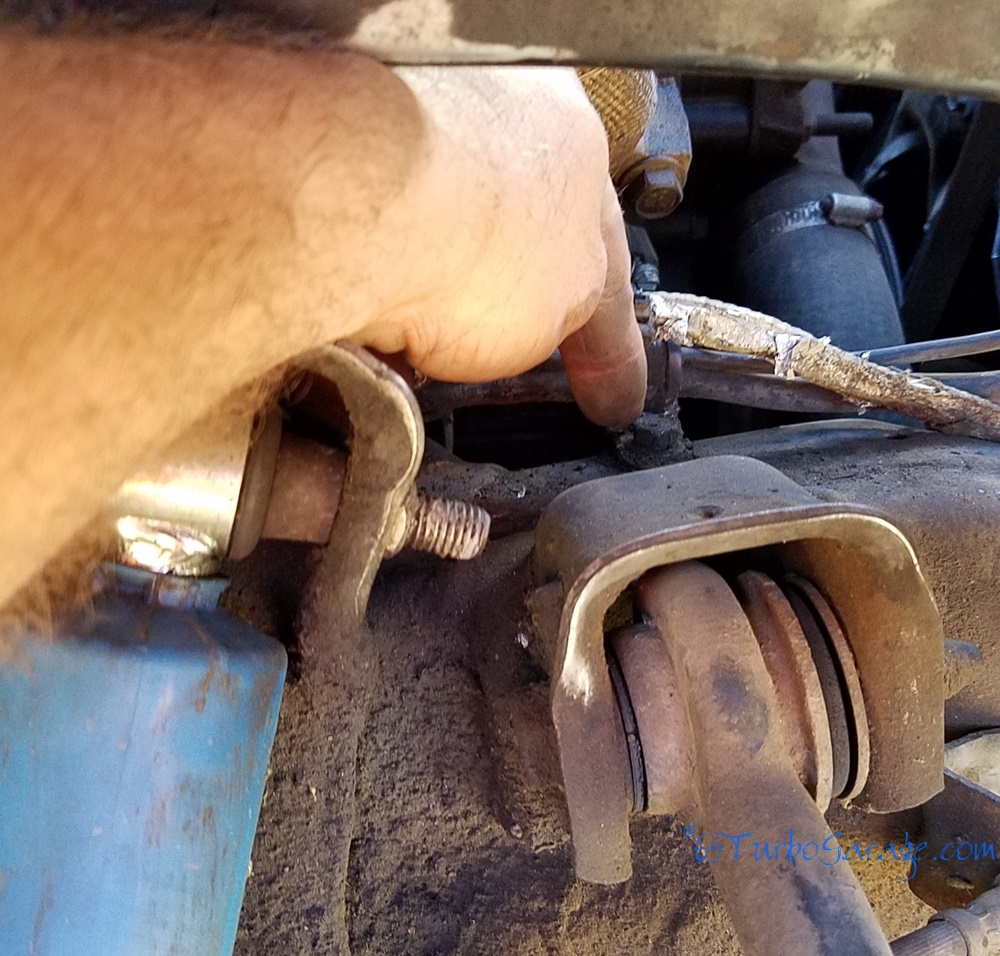
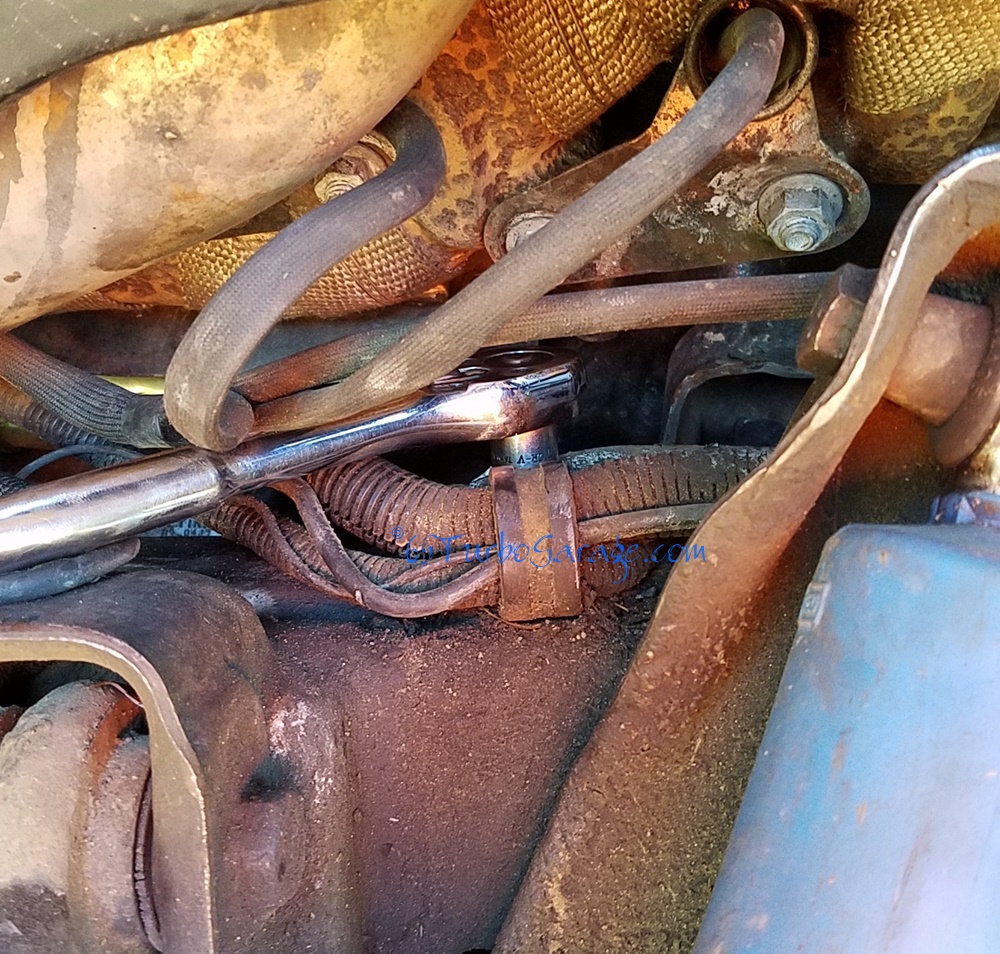
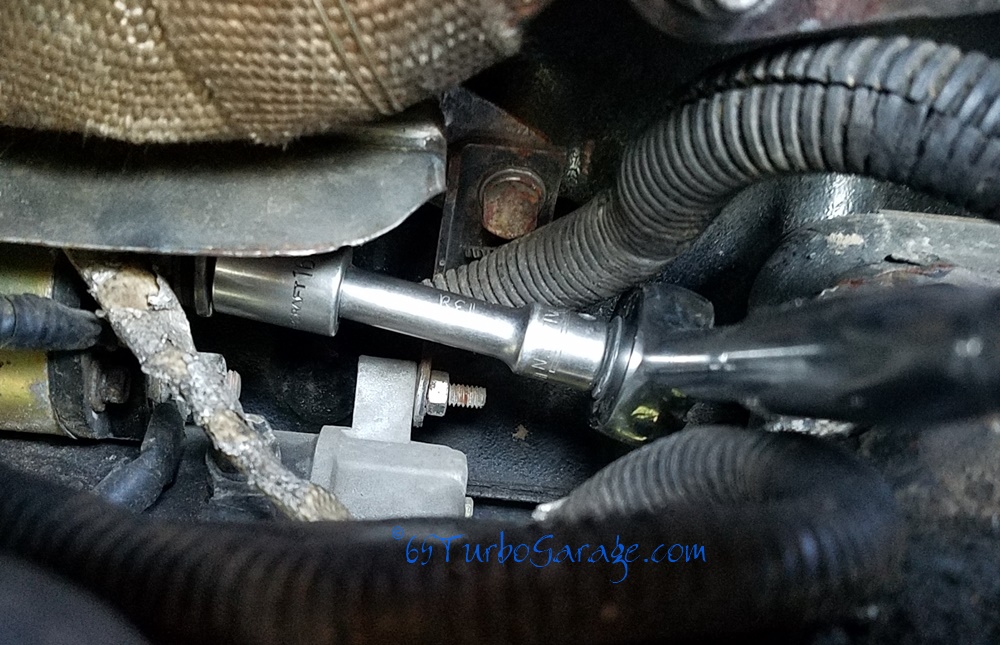
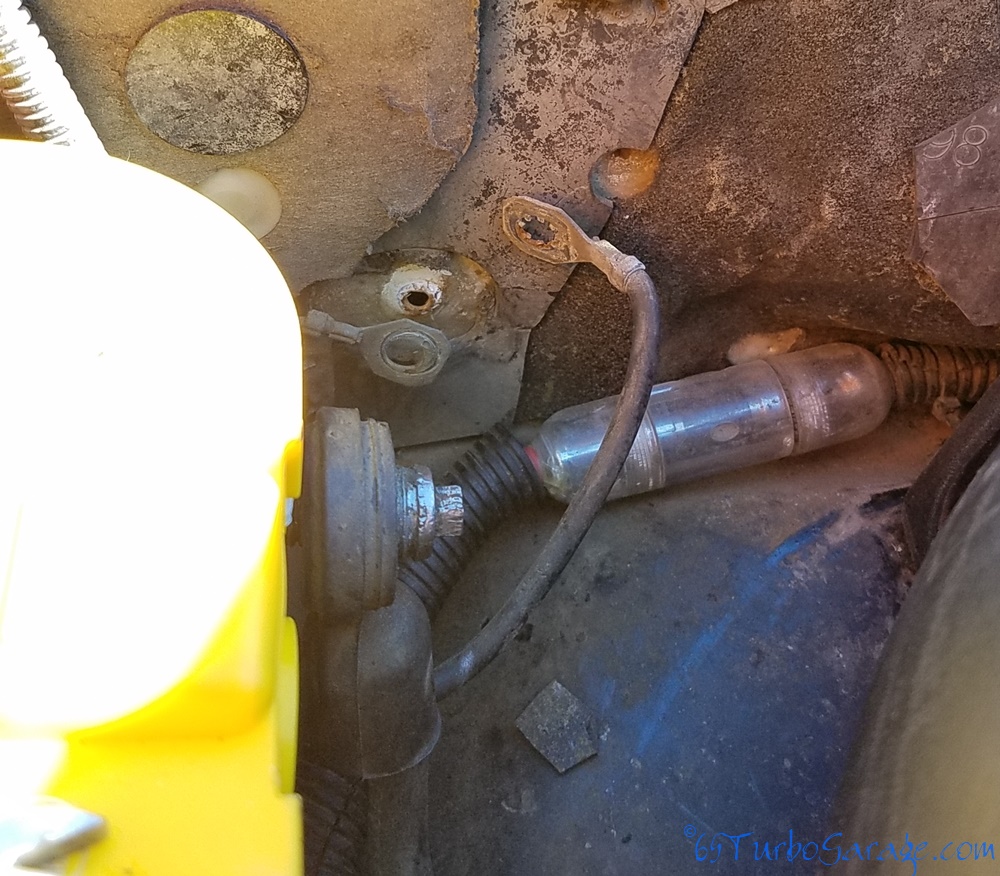
Getting to the starter nut is pretty tight. I used a short wobbly extension that gave me more wiggle room and got it off fine.
The small lead on this cable going to the firewall is a PAIN! The only advice I can give is to take your time, follow along the cable, cutting zip ties that are securing as you go and slowly work it out of the path that it's jammed into. We'll be routing the new one in a more accessible place.
The rest should be pretty straight forward.
If you are not getting new batteries, take a wire brush and battery brush and clean all the terminals on the batteries, starter (as much as you can get to it), and attachment points on the block and fender for the grounds.
The first attachment point is on the starter. It's a bit of a pain to get to but take your time and you'll get er done.
Put a little anti-sieze on the stud and spray with anti-corrosion after it's all tight.
|
|
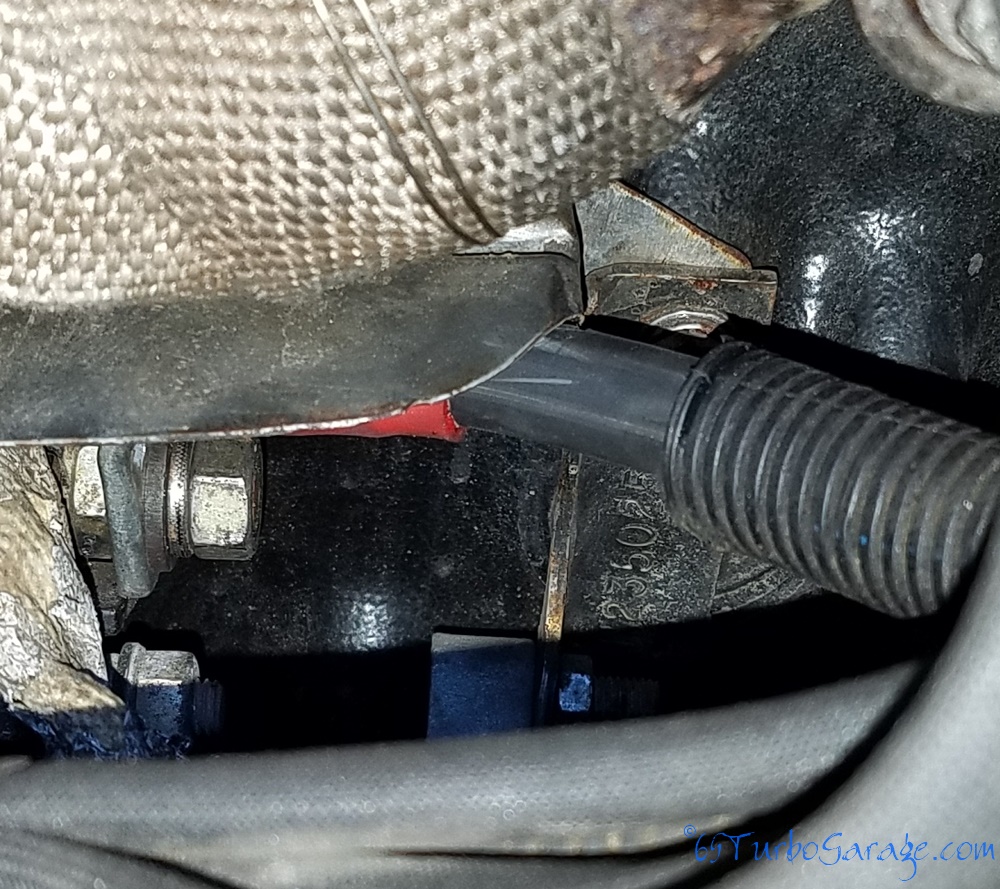
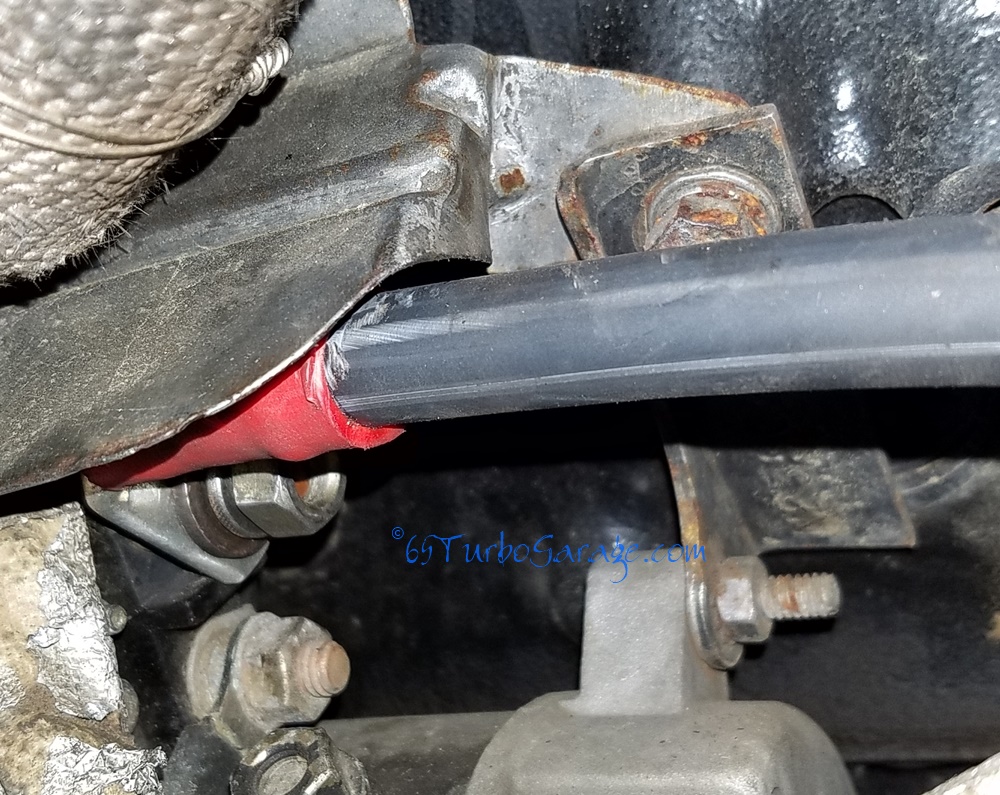
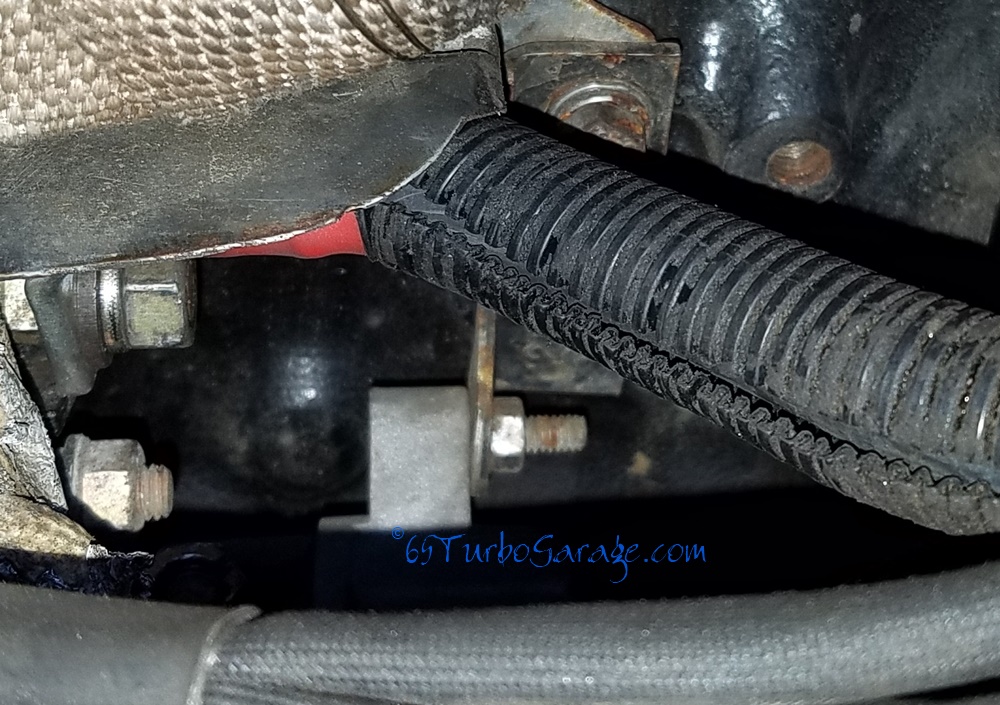
TIP!The directions say to orient the lug so it is up and forward but my heat shield was rubbing on the cable pretty bad so I used needle nose pliers to flatten the point where it rubbed and rotated the cable to a point where it wouldn't come into contact with the edge. |
|
Take the time to work the cable into the stock plastic protective shielding if it was still there and usable and route into the front adel clamp with the rest of the wires. Since the cable is so much bigger, it wouldn't fit into the clamps like the stock cables. I just traded the positions of the clamps and put the other engine wires (PT Wiring solutions glow plug harness, coolant temp sensor, block heater etc.) in the small clamp towards the back and the new cable with all the rest of the wires in the big one towards the front.
Looking At The Installed Starter Cable
Thank You, Your Likes Are A Big Help!
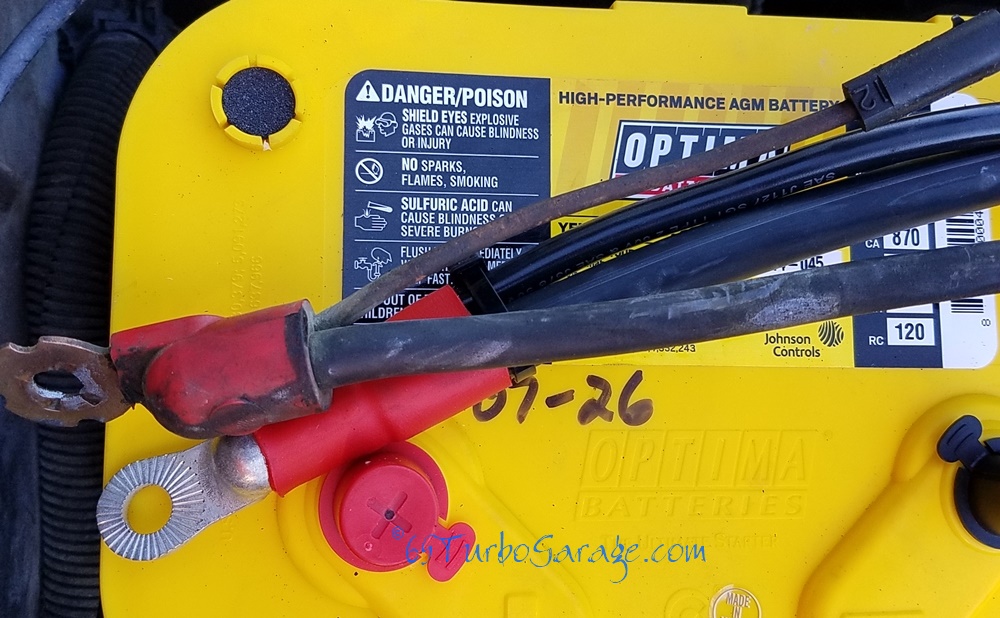
Now, lay the cable that has the lug covered with the big red cap (that goes on the alternator) over the fan shroud and use the longer battery bolt and washer in the hardware kit to connect it and the starter cable to the passenger side positive (+) terminal on the battery (depending on your battery, you may need two washers, just make sure it gets the terminals tight). leave it loose for now.
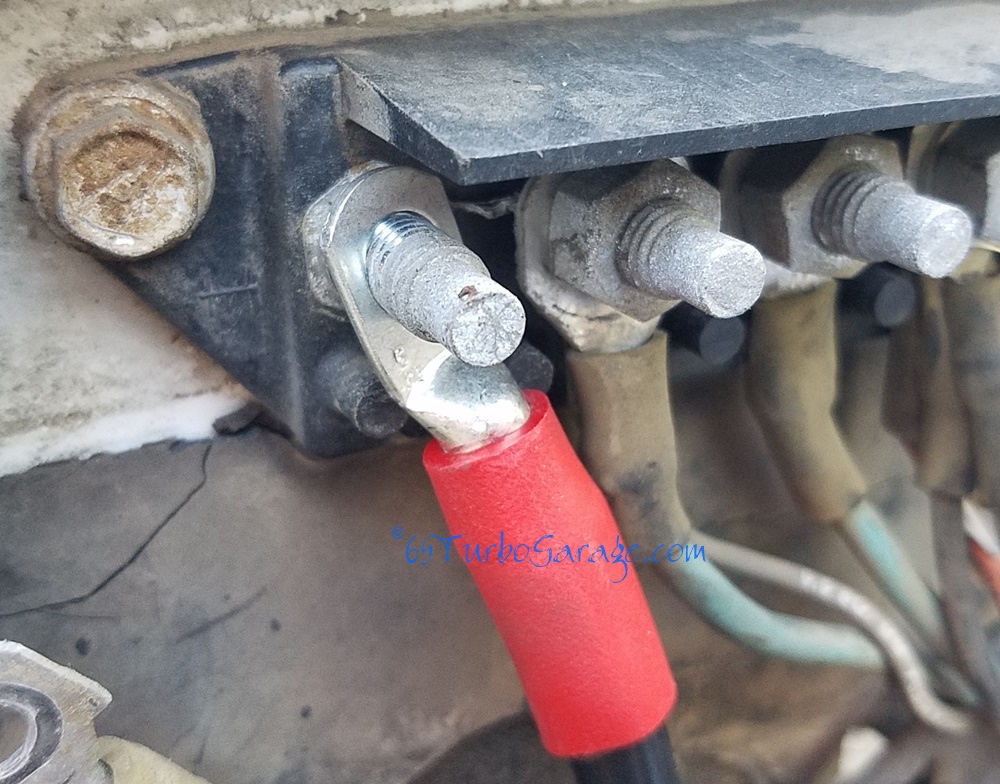
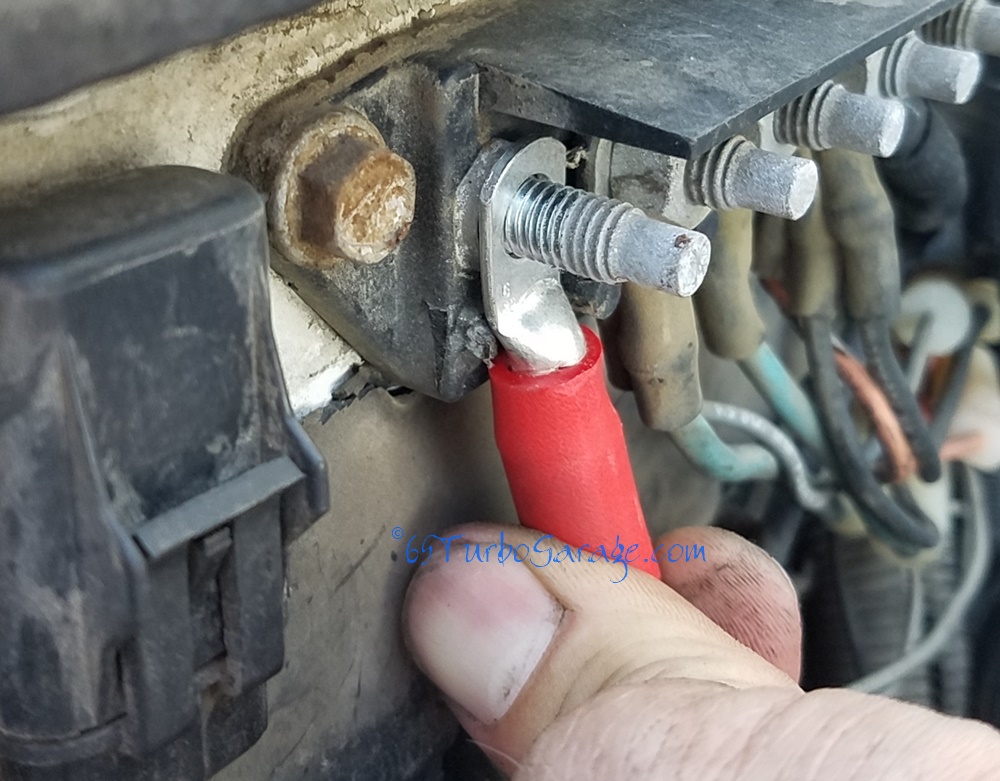
To finish up the initial starter cable, route the 4 gauge cable along the inside fender to the firewall and to the stud on the farthest left. One of the molded in nipples that help keep the lugs separated will have to be trimmed off. I just cut it off with a pair of dykes. Clean and smooth it to your liking. Tighten the nut and use the provided zip ties to secure everything and make it purdy.
Routing The #4 Lead To The Power Terminals
On the drivers side, use the 1/2" bolt to attach the crossover cable to the battery, leaving it loose.
TIP!
When you lay your cable out and find the position that you like, remember that the adel clamp is offset and the hole will be drilled to one side of where you want the cable.
Now with a 3/16" bit, you can drill your holes in the fan shroud for the adel clamps. Decide where you want them, one on either side and one centered between them was good for me. Reach under the lip and feel where you'll be drilling through. There is a lip that you'll want to avoid. When you reach under there, you'll be able to feel a good spot.
Using the buttonhead screws, secure the cable to the fan shroud.
Now tighten the drivers side positive and while you're over there, attach the alternator lug, tighten and push the boot over it. Go back over to the passenger side, tighten the positive and your done with the hots!
Quick Look At PT Wiring Solutions Battery Bolts
Starting with the negatives, secure the cable with the short lead to the stud on the block where the old one was and the lead to the fender, again right where the old one was.
On the driver's side, the ground has no lead, attach to the manifold stud where the old one was.
Now use the provided bolts to secure the grounds to the negative (-) side of the battery on both sides.
Spray all the connections with anti-corrosive and you're done!
Bruce suggests to check all connections after a few days of driving to make sure they are still tight.
Now crank her over and never worry about your cables again!
