We Can Stop Your 6.5 Diesel From Overheating!
Thanks to The Ferm, WarWagon, Will L and others from the Truck Stop Forums for so much of the information that I've learned here and if you want amazing service and support with the parts that you order there is nobody better than Leroy , he has just about everything you need for your truck!
We CAN stop your 6.5 from overheating, cooling a GM 6.5 diesel isn't usually a problem if you only use it for regular transportation. But then, why own a truck? We own a truck because we tow, we haul, we work our trucks because that’s what they were built to do. And if you are working your truck, you’ve probably ran into some heating issues.
Poor GM Engineering That Can Be Easily Fixed
The cooling systems on our 6.5 diesels are one of several things that were poorly engineered by GM to say the least. But like most things on these engines, it’s also easily remedied. With just a few upgrades to the water pump, fan clutch, and fan you should have no problem towing most anything you ever need and still stay cool.
And with Champion Cooling Systems TIG welded all aluminum radiator, you will be free to hunt down all the power you need because heat will no longer be a limiting factor. See the radiator and read our towing comparison between the stock style radiator and the Champion, and how to install it or any other radiator.
The Fix. At Your Fingertips.
Many thanks go out to Heath Diesel for making so many of our lives better by doing extensive testing shown here and finding out that the biggest issue with the water pump is not just lack of flow, but poorly balanced flow. For the ’92-’97 6.5’s they found numbers in the realm of 75% of the coolant to the driver’s side leaving only 25% to the passenger’s side at a rate of 97 GMP.
Swapping to GM part #251-590 for a 1997- early ’99 will bump the flow to 127 GPM but do very little to fix the balance problem.
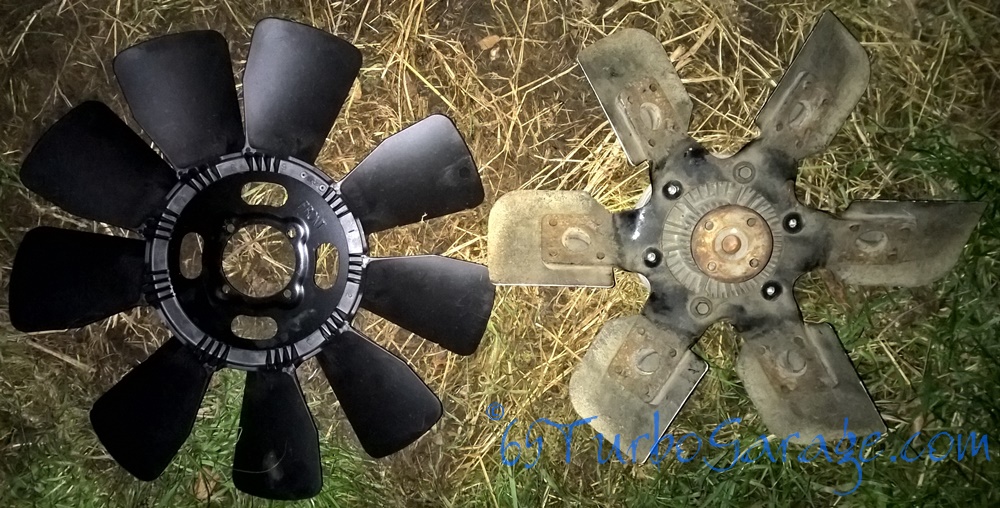
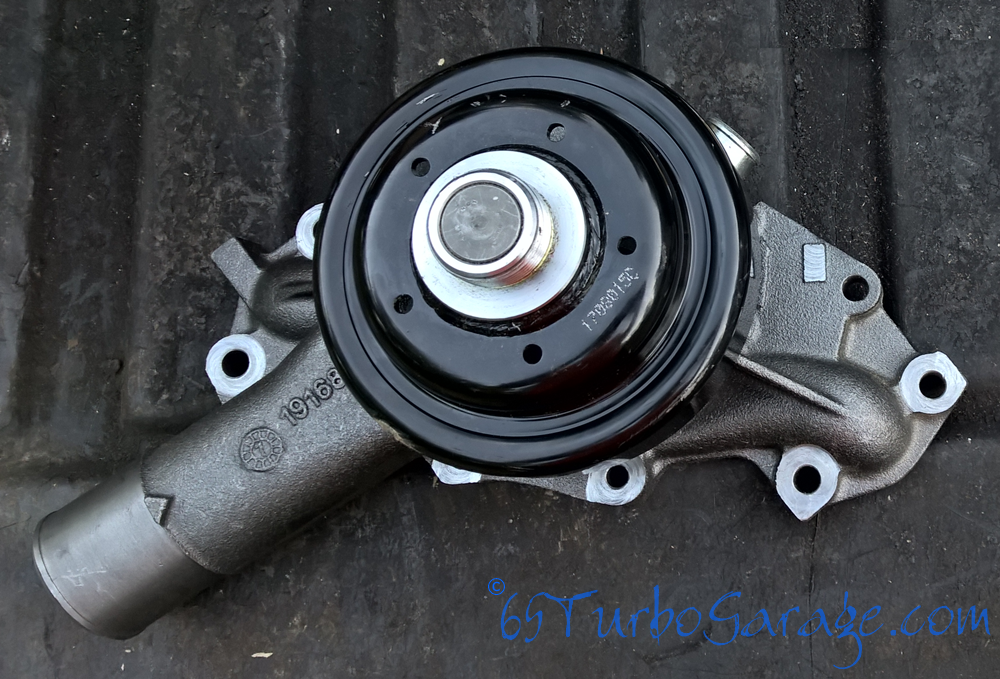
A straight swap to a 2000+ pump, part #251-603 not only bumps the stock flow from 97 gallons per minute to 127 gpm, but also brings it to an almost 50/50 flow balance. You can see where that would greatly improve cooling. Couple that with a Hayden 2886 fan clutch and a 21” Duramax fan and you’ve pretty much got your heating issue solved. The Hayden clutch is much more heavy duty so it will not overheat and will stay engaged on long uphill pulls, and the fan has more blades and is much bigger as you can clearly see in the top picture, which moves way more air.
Don’t Sweat It, It All Bolts Up
And best of all? They all just bolt right up. That’s right, the Duramax fan bolts right up to the Hayden clutch with the stock bolts, the water pump is a direct fit, and the clutch spins right on.
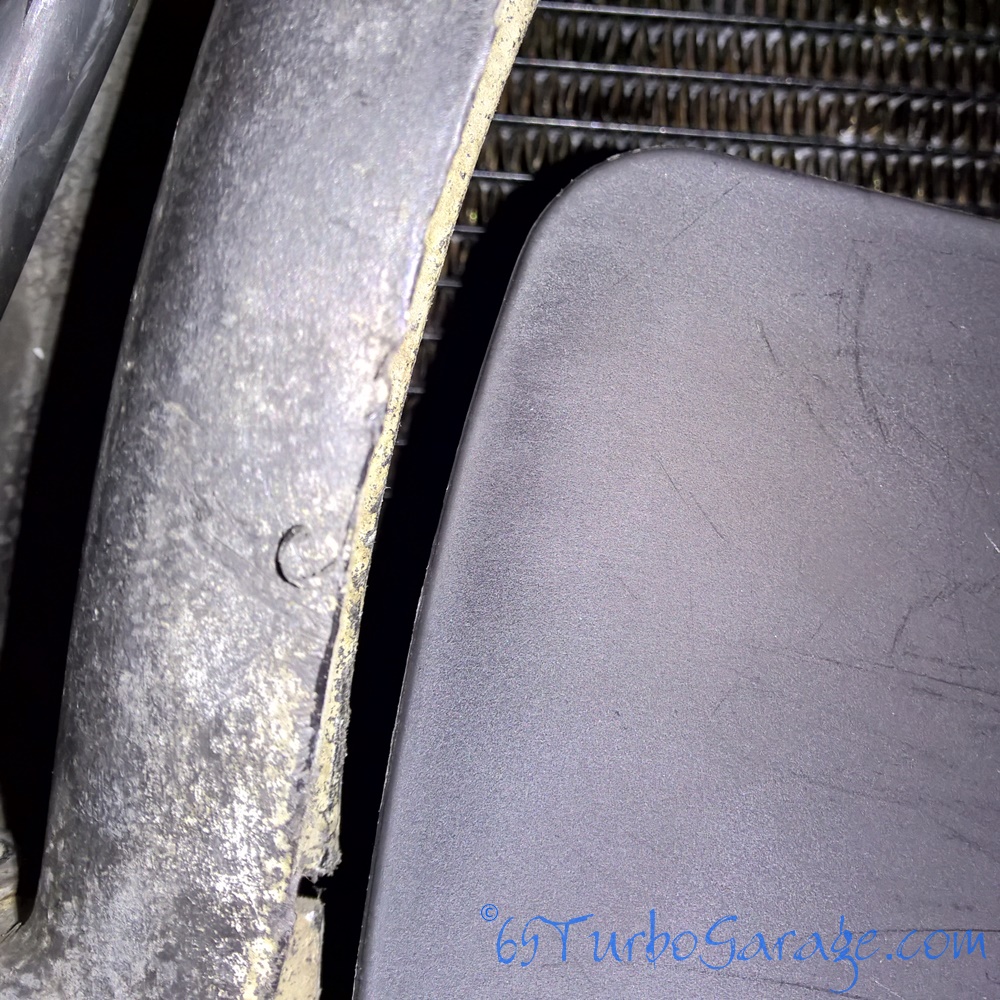
If your motor mounts are sagging, you should replace them with energy suspension urethane inserts to get the motor back where it needs to be. Otherwise, the bigger fan may rub on your fan shroud. You can trim your fan shroud a bit but then, when you finally change your mounts (and you should), your shroud will be cut up and won’t work as efficiently. I made a video showing the proper way to orient the inserts for install here.
So here we go, let’s get ‘er done, you’ll need…
|
Parts |
Tools |
Cleaners/Sealers |
By the way... The whole pump/clutch/fan can be ordered together from Amazon for about $380 (as of 2018) right below the pump picture here.
Replacing the water pump on a 6.5 diesel is a straightforward process. What I mean by that is that it’s just a matter of pulling things out of the way, pulling the pump, and putting everything back together. No setting clearances, no machining, everything can be done in an afternoon with regular tools and the proper sealant.
- First remove the 10mm bolts holding the top of the fan shroud on. There are four up top and then look about mid-way down and you’ll see the other four, two on either side. I use two long extensions to be able to reach them easily.
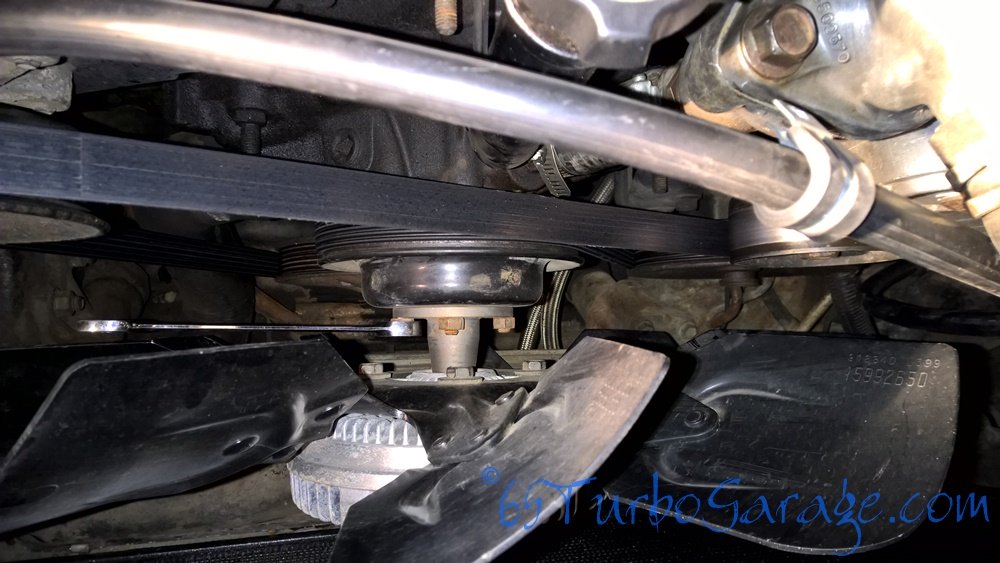
- Then remove the four 13mm nuts holding the fan clutch onto the water pump. It’s a little awkward but just keep shifting the fan around until you can get some travel on the wrench (Gearwrenches work great!)
- Using your 18mm wrench and another for some good leverage, release the tension on the belt and pull it off.
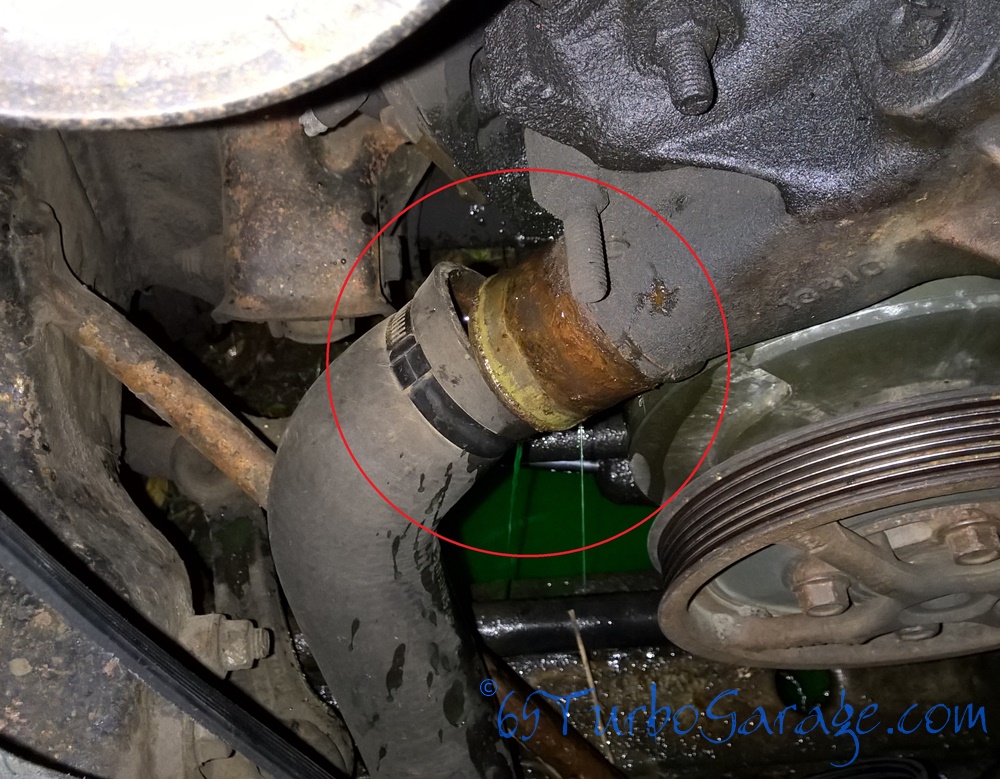
- You need to drain the coolant of course and since you need to remove the lower radiator hose from the pump anyway, I just put a large drain pan below, pulled the hose loose, and let it drain.
Tip!
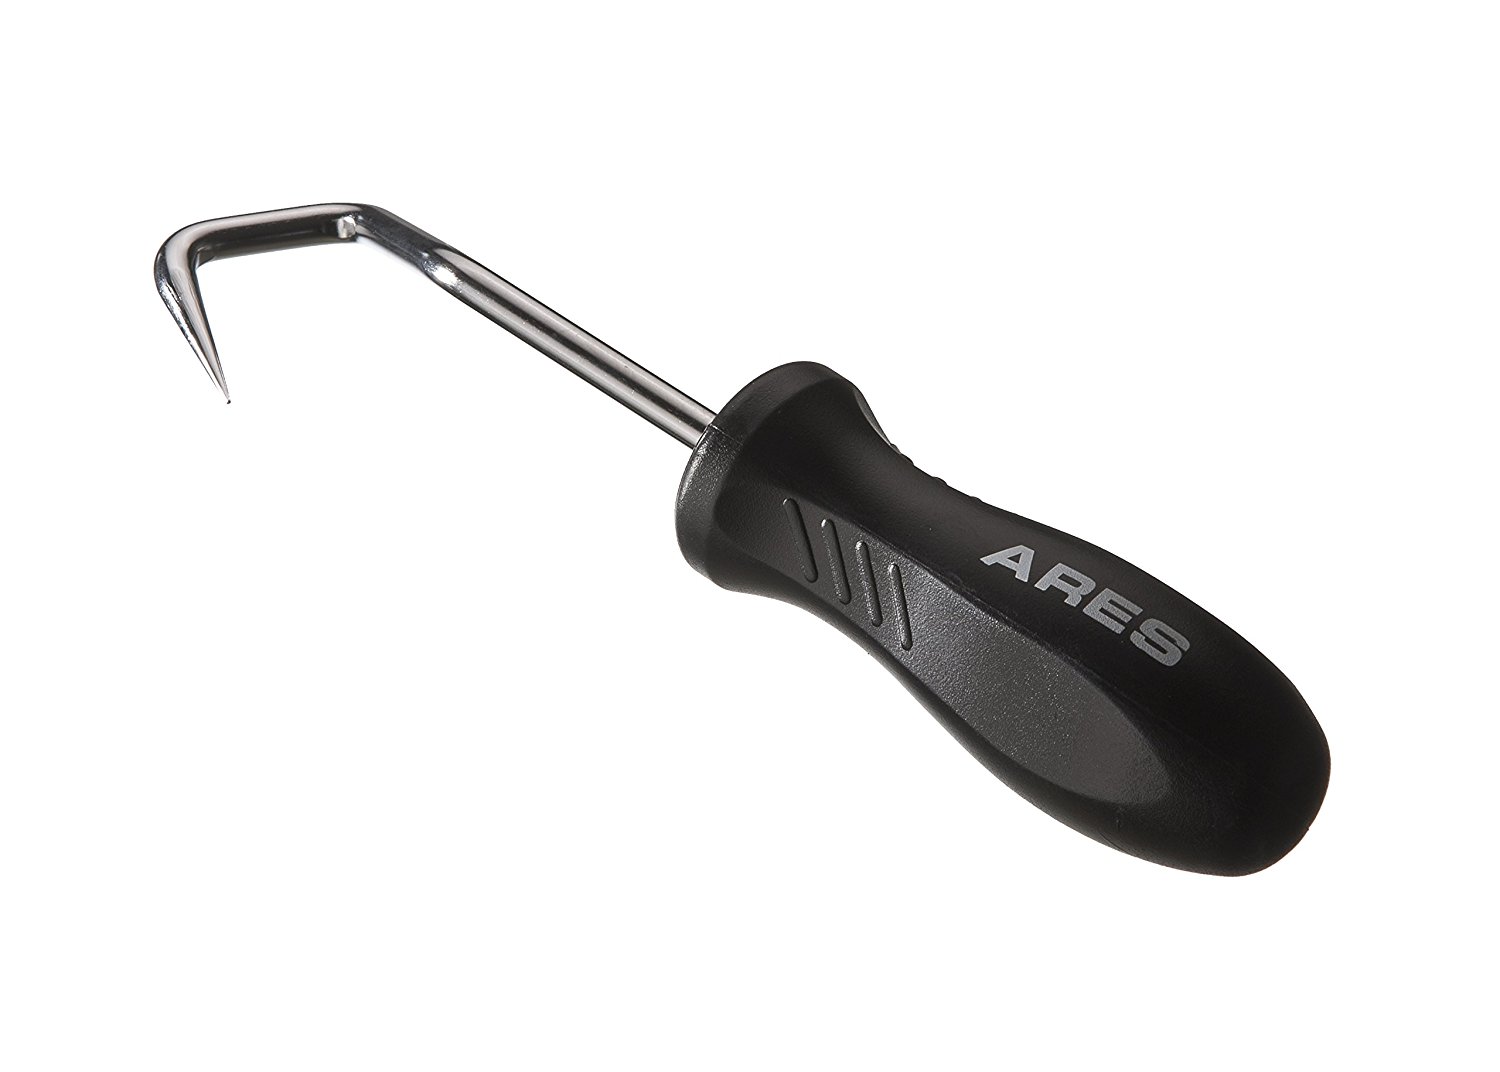
Here’s a tool that has become a must-have in my opinion… a hose removal buddy. It just slides down between the rubber and metal and then you work it around to break the seal of the hose to the metal. The hose will then come right off! Along with the clamp pliers, you should have no problem removing hoses from now on!
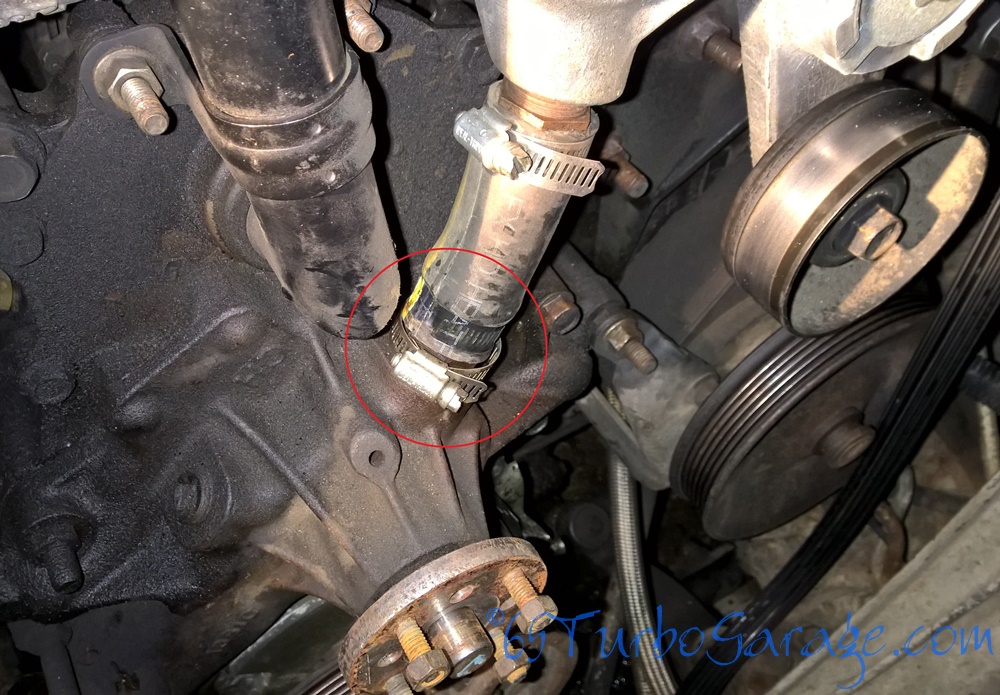
- Loosen the lower clamp on the crossover bypass hose and slide it up the hose. Use the hose buddy to break the hose loose and get it ready to pull free.
- If equipped, pull the vacuum pump free and set it aside. Better yet, you should get rid of it completely and get a manual waste gate controller (and you should get a new tune too). Your truck will be much better for it.
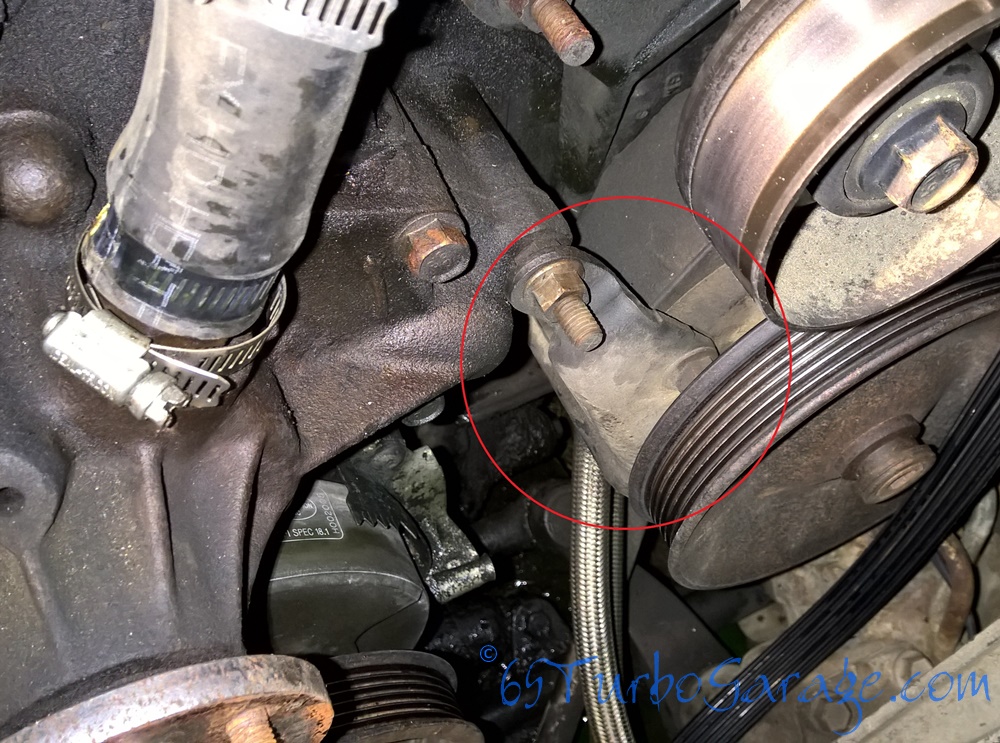
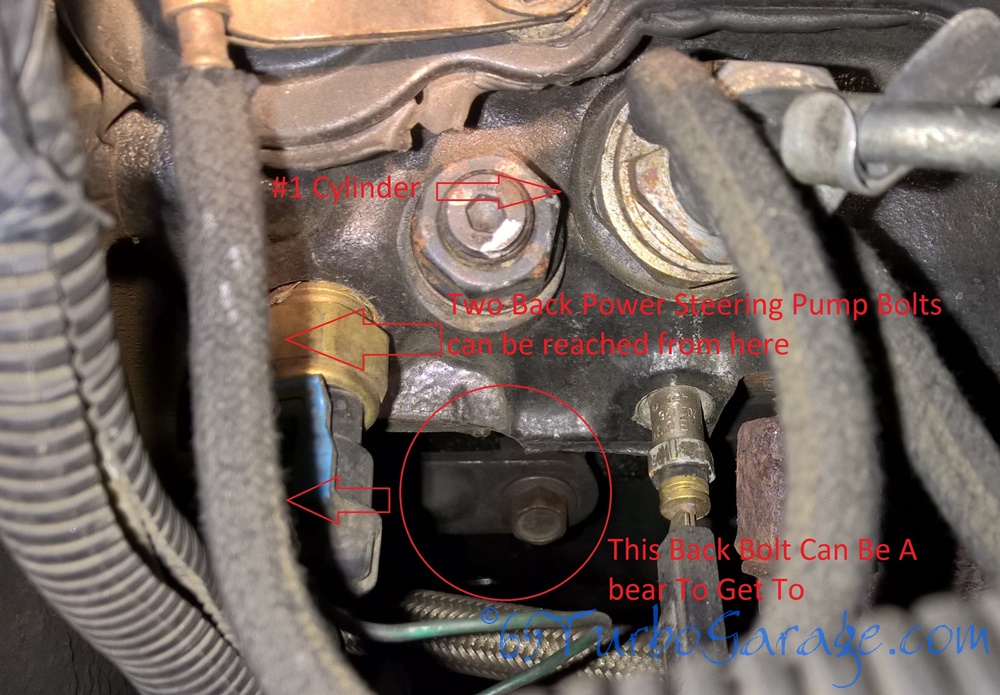
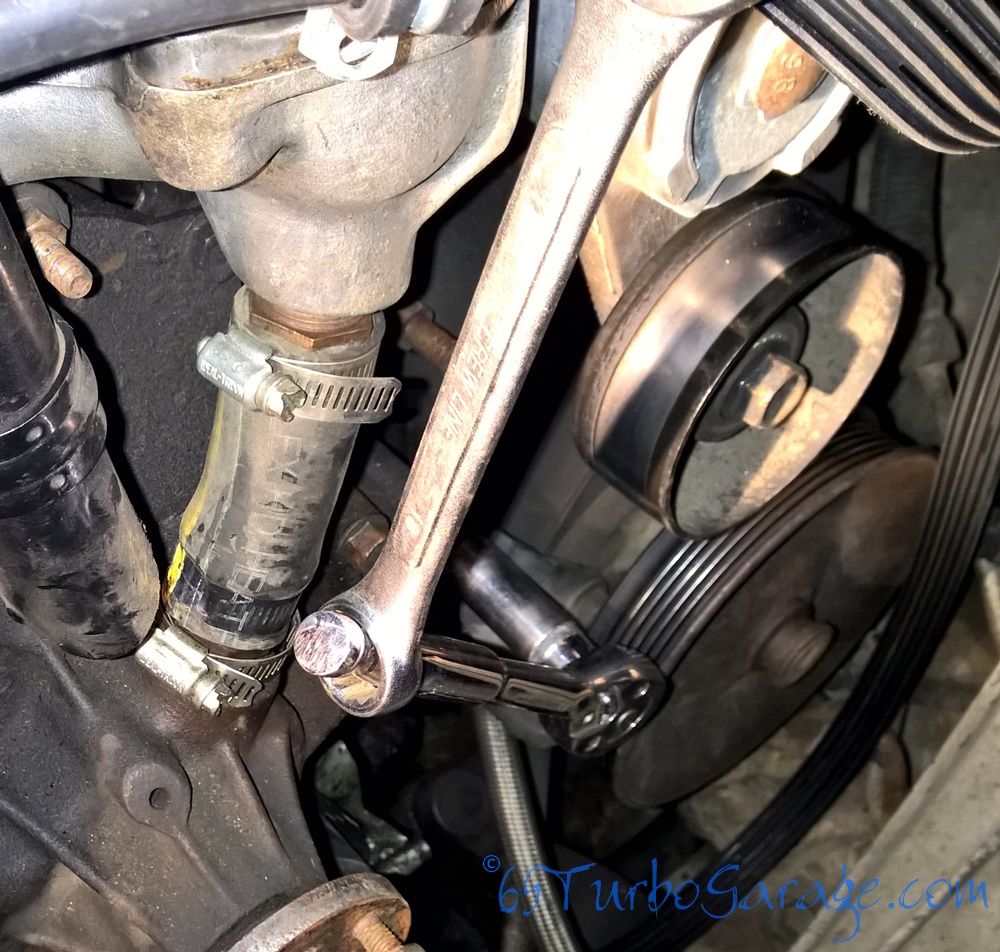
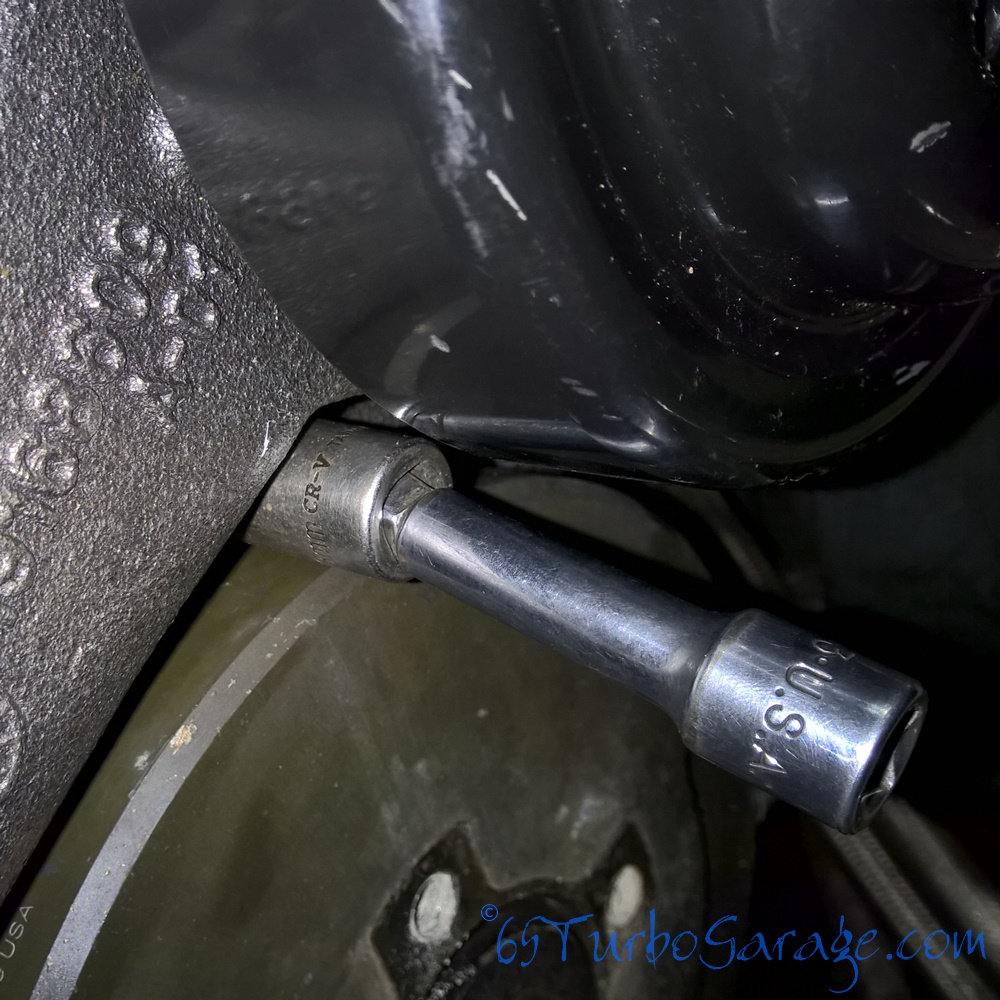
- Now for the hardest part of the job (at least it was for me). Pull the power steering pump loose and set it aside as well. The last bolt on the bracket is further back on the block just under the #1 glow plug and is a bit of a bear to get to. I used a ratchet with a short wobbly extension and was just able to get it. Once it’s off though, you’re home free!
Tip!
Here's a little trick that I use a lot. It not only gives you more torque but can also help to give more maneuvering room when you're trying to break a bolt free..
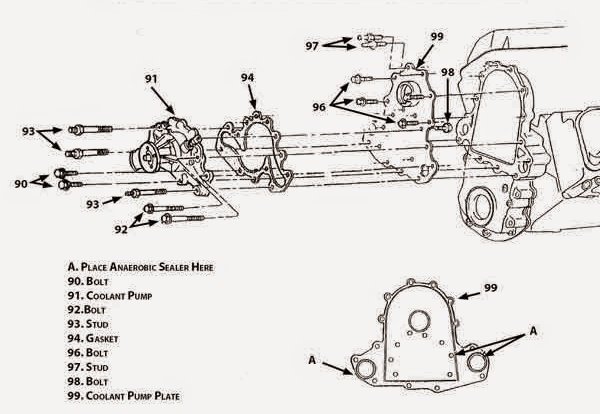 6.5 Diesel Water Pump Diagram
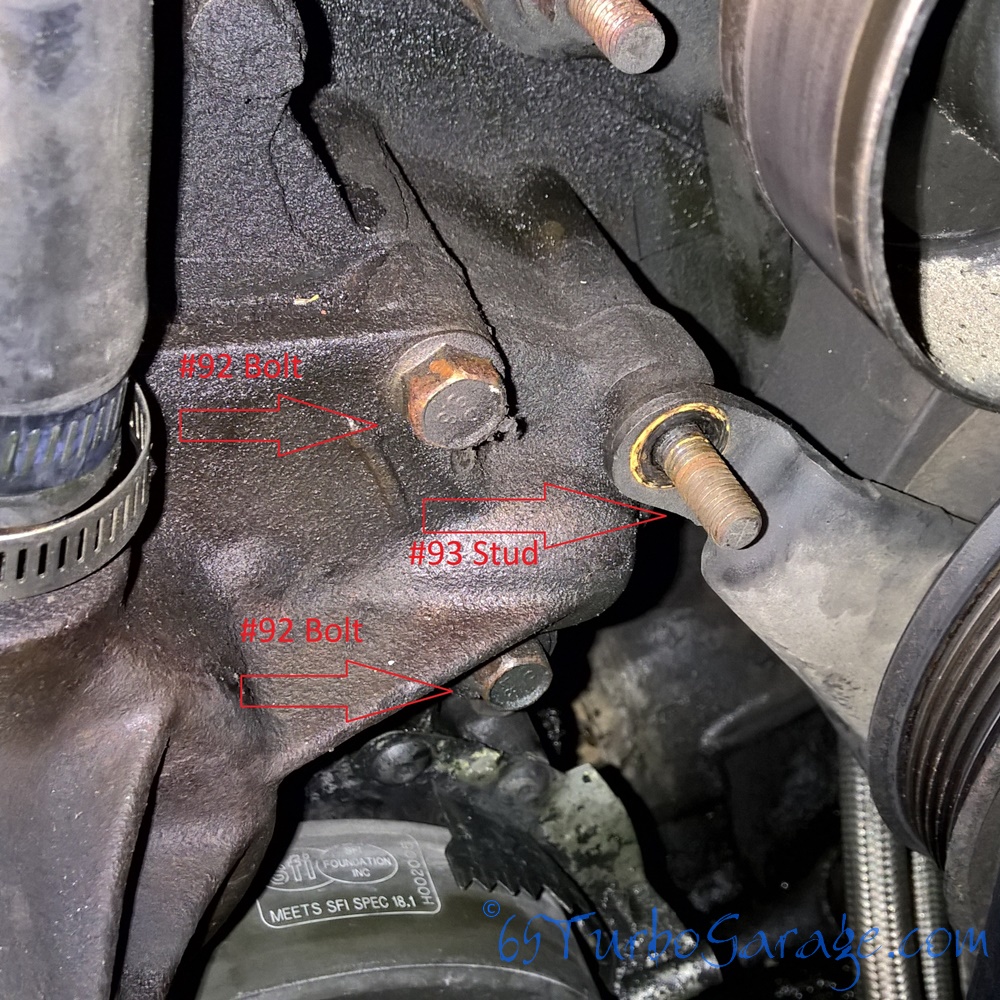
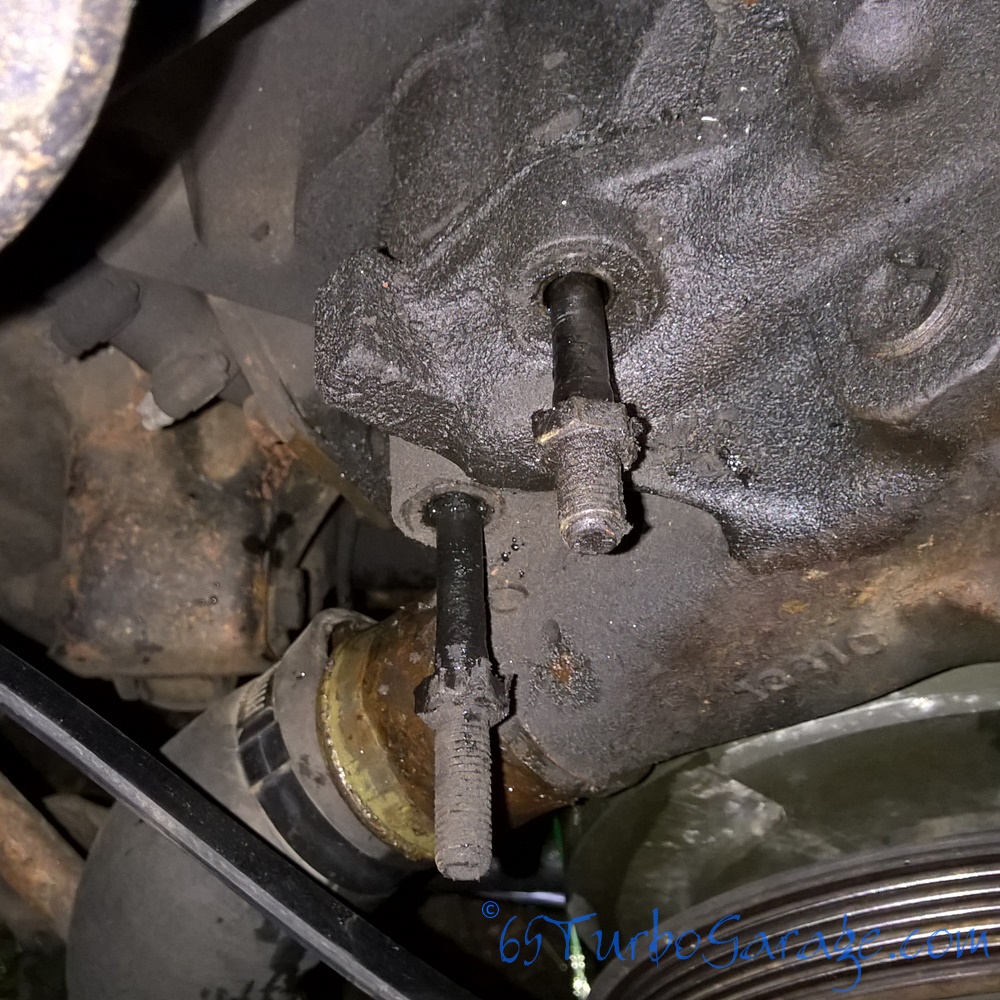
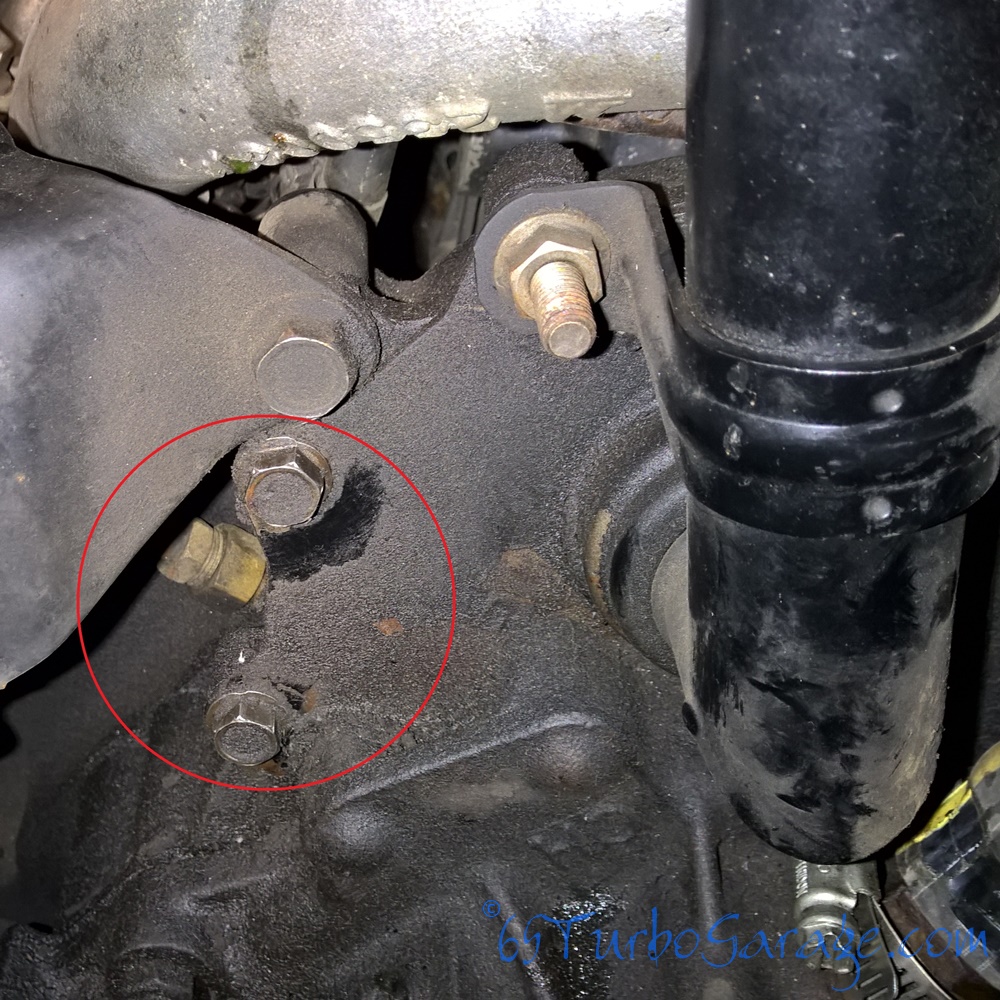
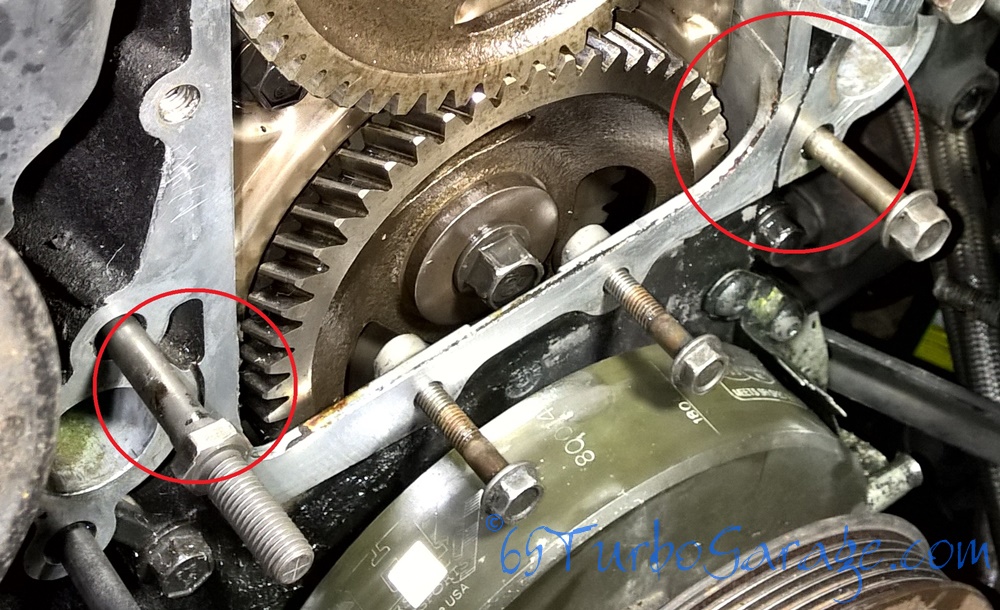
Ok, now that you have everything disconnected from the pump, you can start pulling the bolts holding the pump itself numbered 90, 92, 96, and studs 93 and 97 in the above diagram.
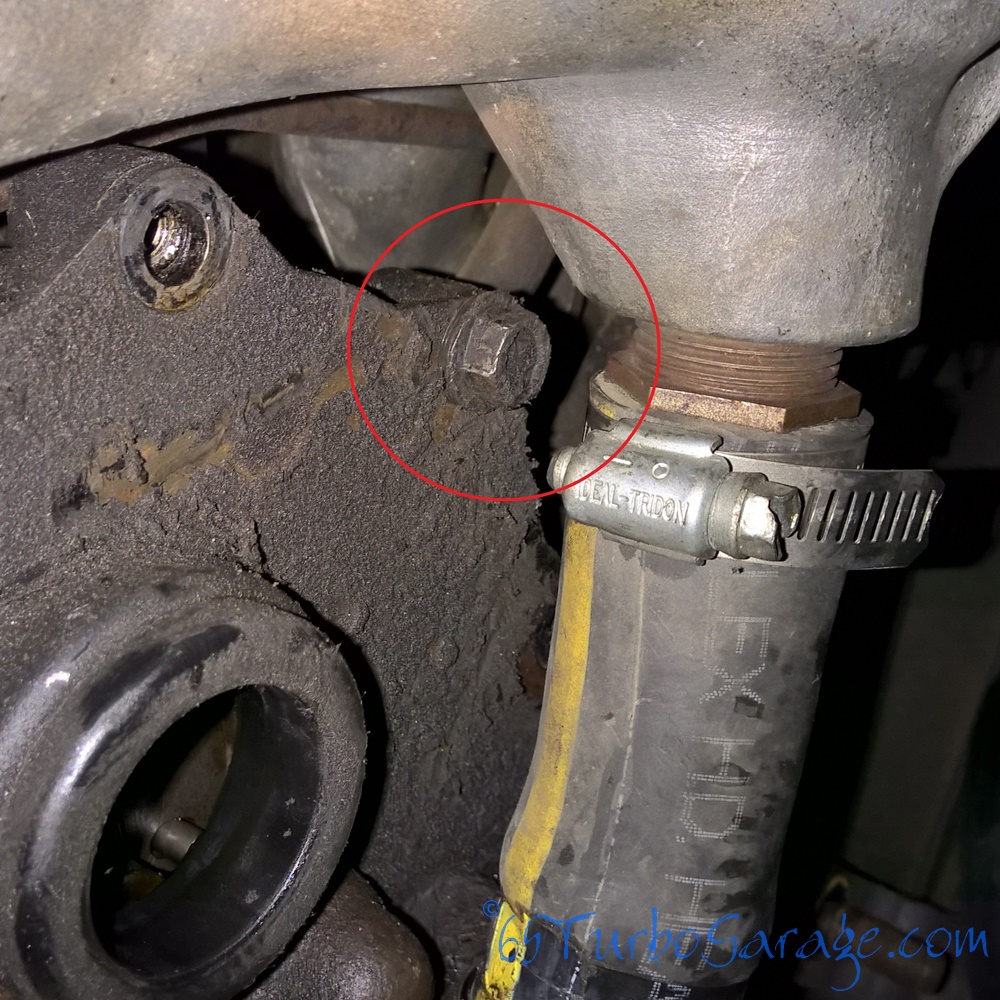
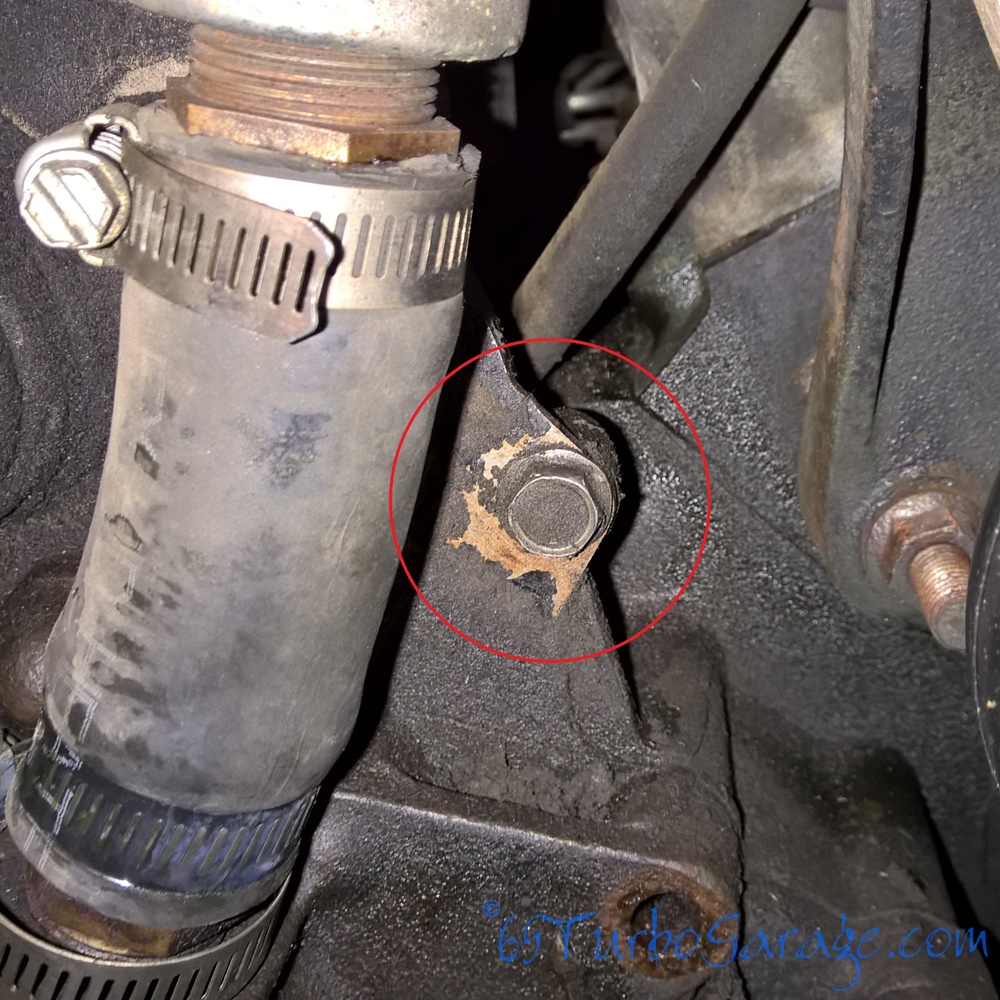
Moving Clockwise From The Top, Here Are The Bolts You Need To Remove .
- You should be able to pull the pump and backing plate free from the block now!
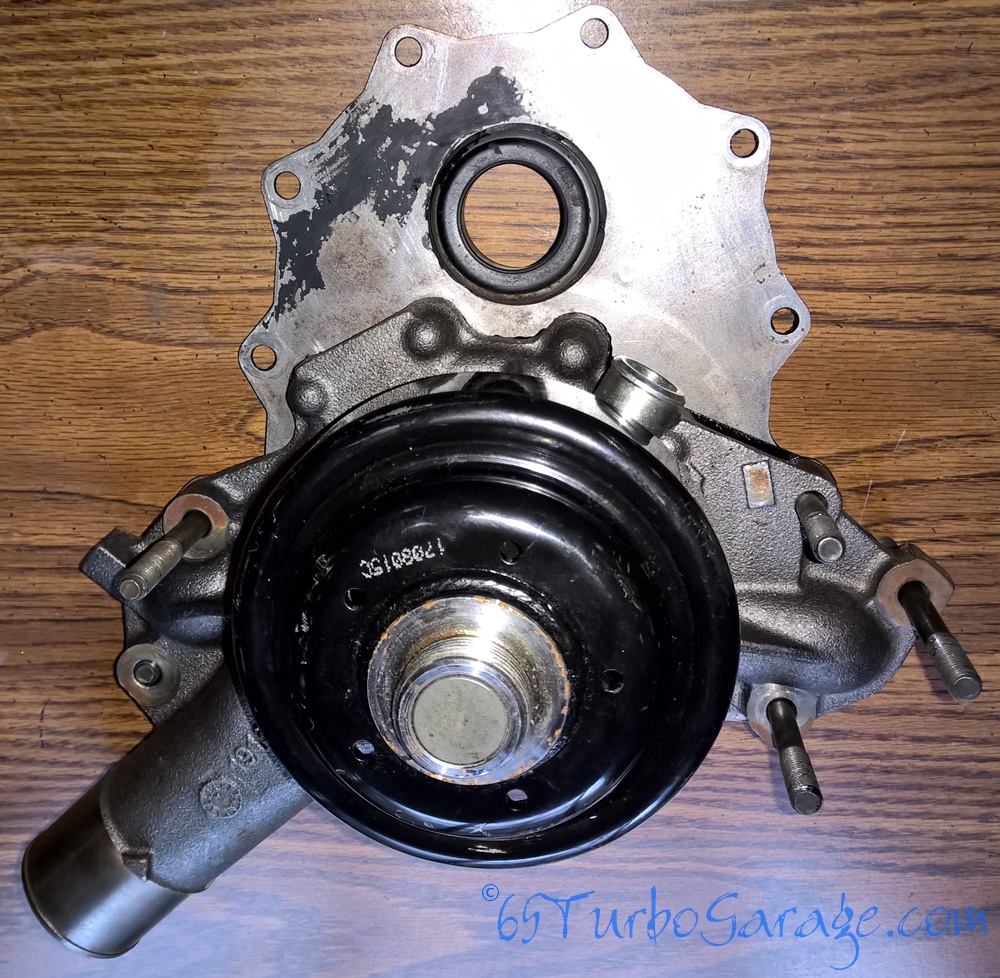
- Flip it over and you will see the six short head bolts holding the pump to the plate (you’ll know which ones to use here during reassembly by the short heads). Pull these out and the pump will come loose from the plate. You may have to work at it a bit. Don’t scratch anything up.
We Appreciate The Like, It sure Helps Out!
You Gotta Get ‘Er Clean!
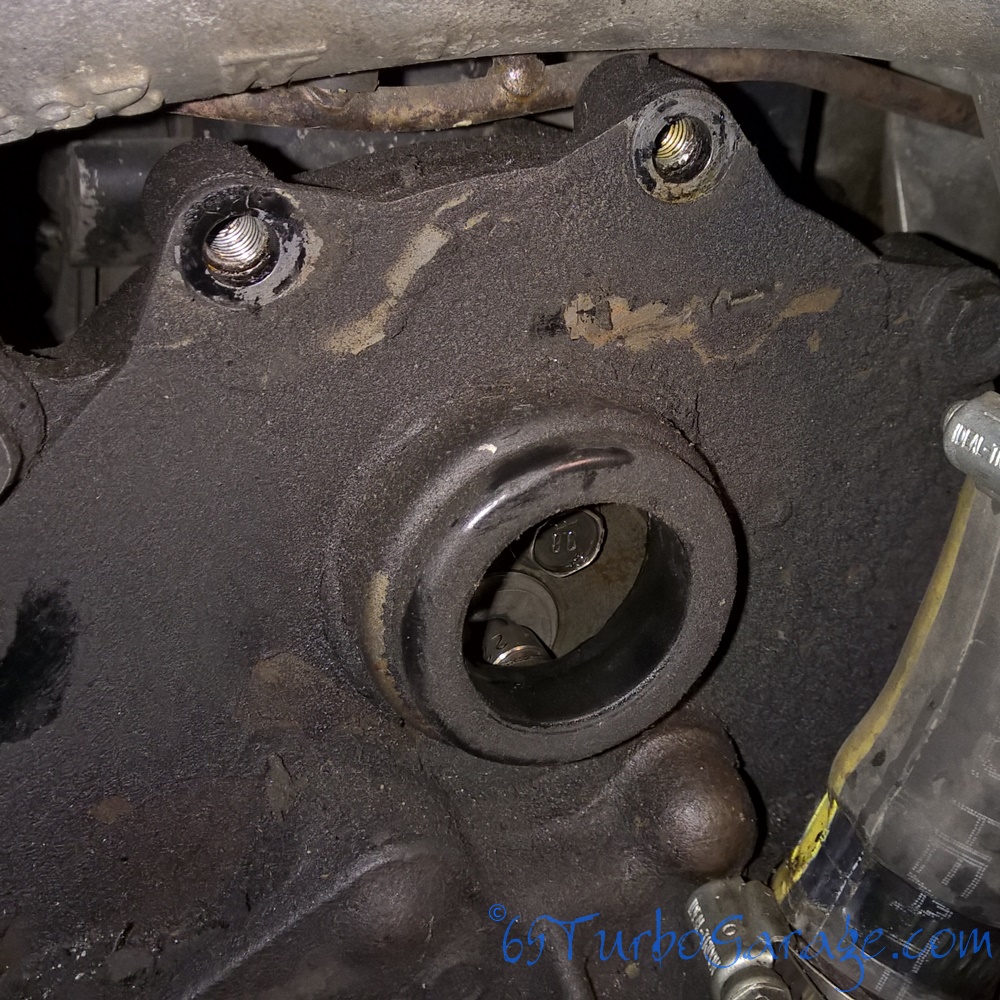
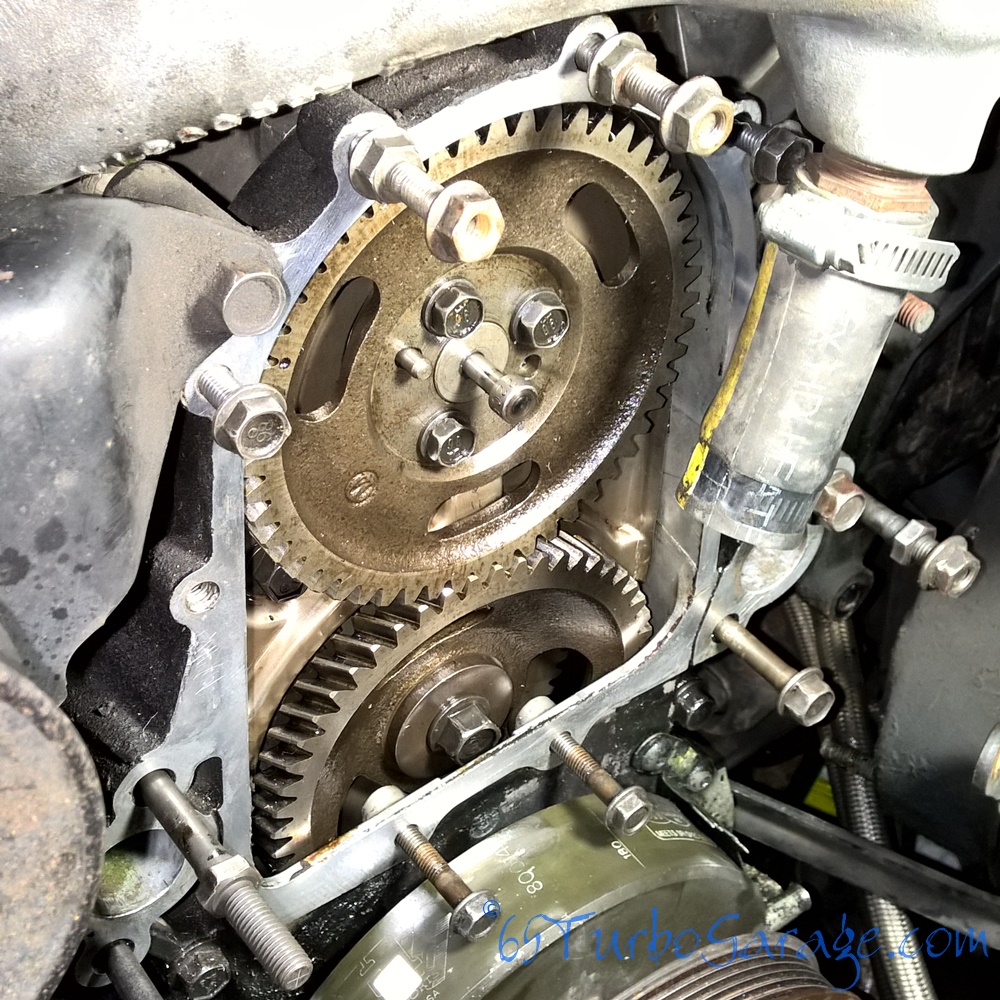
- The front of your engine is open to the oil pan there in front so stuff some clean rags down in there to keep anything from falling in.
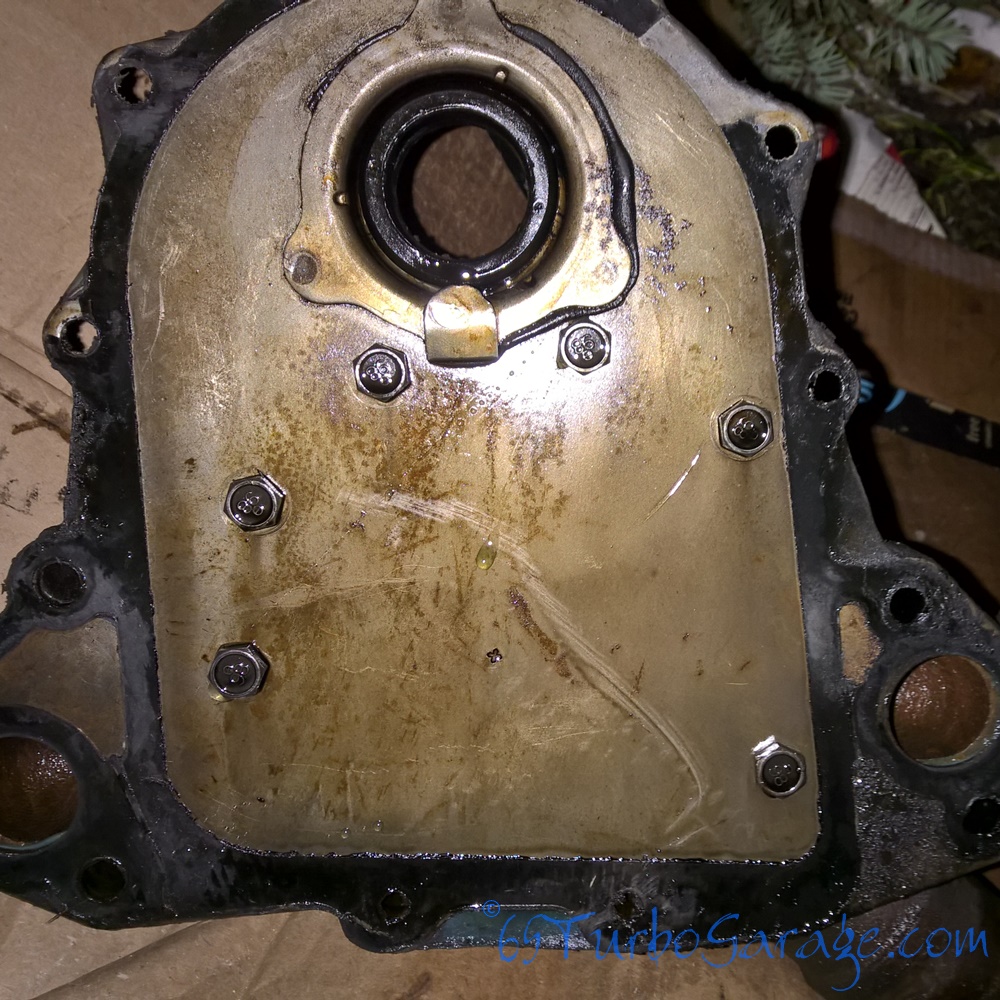
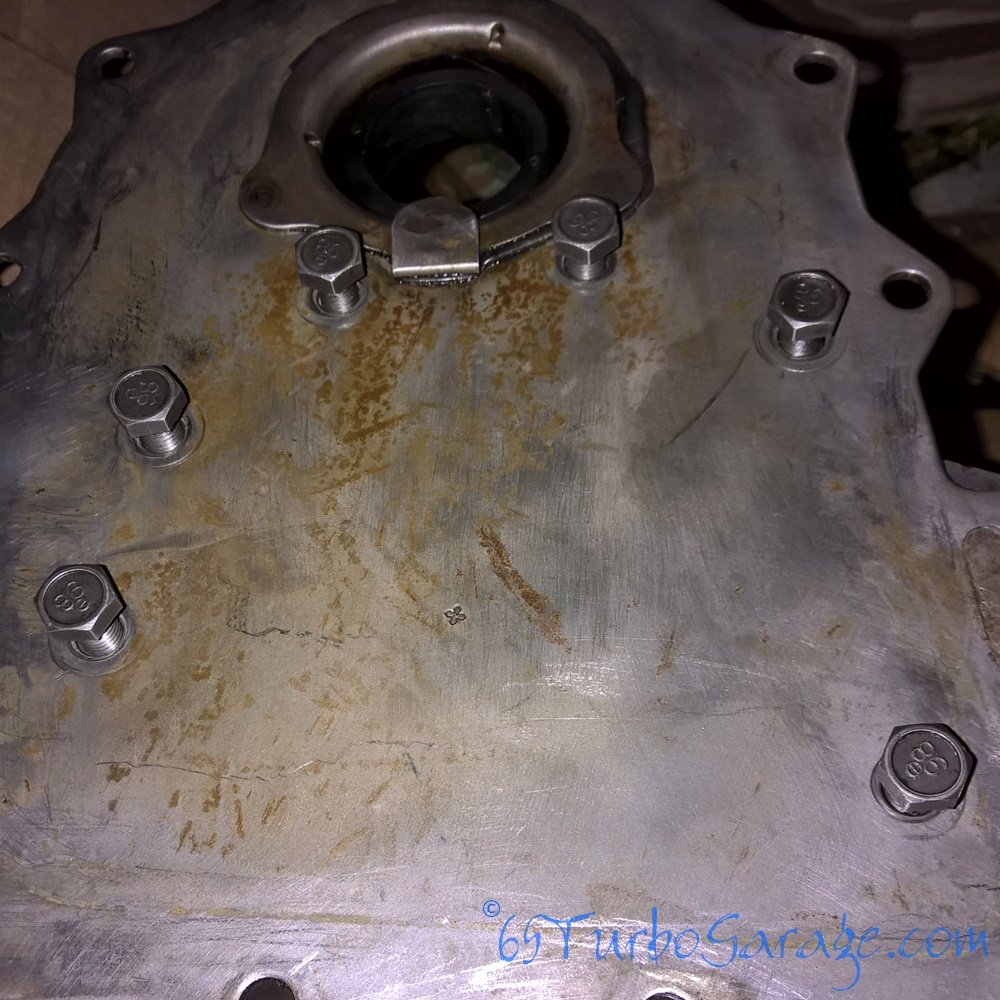
- Start cleaning up the timing gear housing and backing plate. Some brake cleaner, rags and a simple scraper works well. Remember, the housing is just aluminum so be careful not to scratch it up.
- Buy some taps and dies and chase the threads on all nuts, bolts, and holes. This is a must in my opinion. These tools last forever, it makes the job go back together MUCH better, the thread sealer will work better, and most importantly, you’ll lessen the chance of pushing some shmutz back down into the oil when installing them. A bench grinder with a wire wheel and chasing the threads will make everything almost like new.
- As a final clean, you want all oils off of everything. Spray some brake cleaner onto a clean rag and wipe all surfaces that will need to be sealed.
Tip!
Lay the new pump nose down with a couple studs poking up through towards you on either side. That way the gasket will slide right down where it needs to go.
- Do a test-fit of the water pump gasket so you know which way it goes.
- Lay the gasket on an old board or piece of cardboard and slobber a thin coat of form-a-gasket all over the side that goes to the pump and then set it on the pump, lining up the holes as best as you can.
- Slobber a thin coat of Form-a-gasket on the other side of the gasket and slide the backing plate on. Again, using the studs to guide you.
- Grab your six clean short head bolts and tighten the backing plate to the pump at 17 ft. lbs.
Tip!
A reader, Matt Covino asked if it is necessary to put thread locker on the six mounting bolts. I thought, "Yeah, it's not a bad idea" but I noticed that I didn't mention it here. If you have cleaned the threads and properly torqued them, they should be fine, but if you're just doing the work, a little light or medium strength thread locker (don't use the red!) will help prevent vibration from working them loose and dropping them into your gears and oil pan.
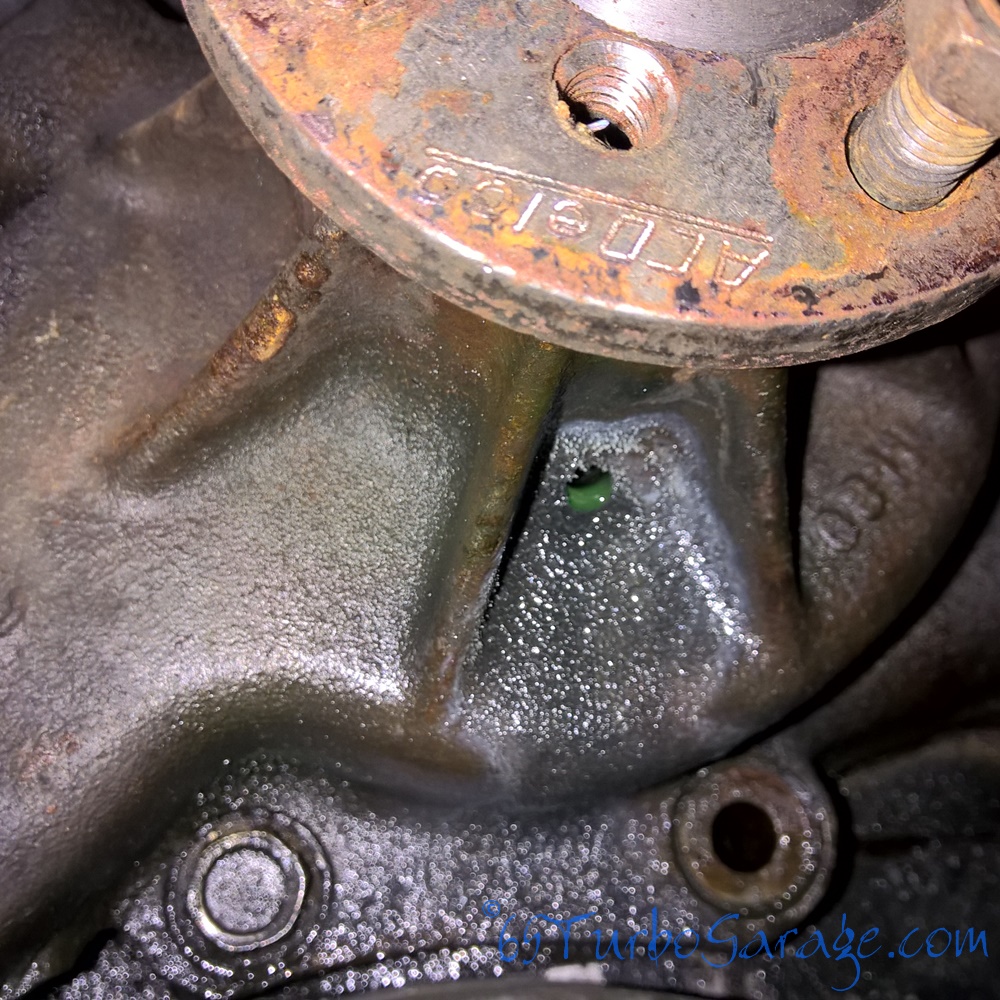
- The backing plate and timing housing doesn’t use any gasket. It does take an anaerobic sealant though. Slobber a thin coat on the timing housing, making sure not to plug the two drain passages down on either side at the water inlet points.
OK, Let’s Get This Thing Installed!
Tip!
Some Anti-seize inside the hose will help here and will prevent the hose from sticking as bad the next time you need to pull it off. These things make these jobs easier, so do it, you won’t regret it!
- Get the whole assembly down where it goes. Remembering your clamps, push the pump up into the bypass hose and work the lower hose onto the pump.
- Apply thread sealer to your shiny clean threads one at a time as you install into the pump.
- Referring to the diagram above, torque bolts 90, 96 and studs 97 to 17 ft. lbs.
-Torque bolts 92 and studs 93 to 31 ft.lbs.
-The pulley on the new pump makes it difficult to get to the bottom bolts, so just pull the crank pulley off and you can get to them. (Maybe this is a good time to install another life-time part, Leroy’s awesome aluminum crank pulley!) A wobbly extension will help to get them right on.
- Re-install power steering pump, vacuum pump, and belt.
- Install the new fan on the clutch with your old bolts and screw the clutch onto the pump.
Thanks to Will L, btfarm and ak diesel driver for a few ideas for tightening the clutch if you don’t want to get the wrench set…
- The easiest way is probably to get an air hammer (you should have one anyway, they are very useful and they can last forever) with a wrench adapter. Putting it on, taking it off, it’s quick and easy.
- With a big crescent wrench, just a good whack on the end
- A pry bar through the pulley
- A chain wrench
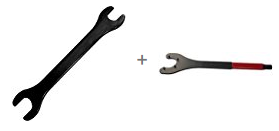
These pumps run counter clockwise so they will tighten themselves up but you’ll want to tighten it up real good, so get this wrench set. You’ll need them for the next time you need to remove it anyway.
- Install the fan shroud. Check for fit and rubbing of the 21” fan. If it’s rubbing, it’s likely that your motor mounts are worn out. I don’t recommend trimming your shroud to fit the fan (however, keep reading) but if your motor mounts are worn (they probably are if they’re original), you should replace them with Energy Suspension urethane mounts. They are another life-time part that should put everything back into alignment. My fan ended up with about ¼” – 3/8” clearance with no rubbing at RPM so far.
There are small differences in every truck so you may still have some rubbing even with new mounts, I suspect that maybe with trucks that have taken a hit or two in their lives, so in some cases you may still have to trim the shroud a small amount.
- Re-fill the radiator with a 50/50 blend of anti-freeze, leave the cap off.
- Make sure that everything is clear of the engine bay, especially the fan/belt.
- Hey, what are you doing just standing there, go start her up! -
- Run it until the top hose is hot. Add coolant until the radiator is full. Re-install the cap and check for leaks.
Now go drink a beer!
Congratulations, you’ve likely just stopped most if not all of your 6.5 overheating issues!
